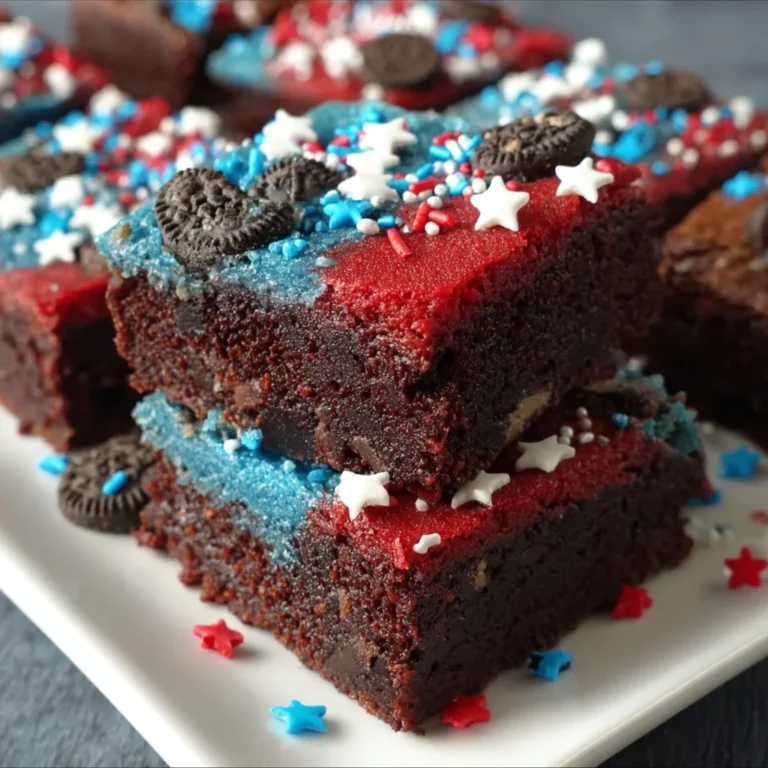
Introduction to 4th of July Brownies
As the 4th of July approaches, I find myself daydreaming about delicious treats that can light up our summer celebrations. That’s where my 4th of July brownies come in! These brownies are not just a dessert; they are an experience, bursting with festive colors and mouthwatering flavors. They come together quickly, making them perfect for busy days when you want to impress your loved ones without all the fuss. Trust me, nothing beats the delight on your family’s faces when they bite into these tasty, colorful brownie goodies!
Why You’ll Love This 4th of July Brownies
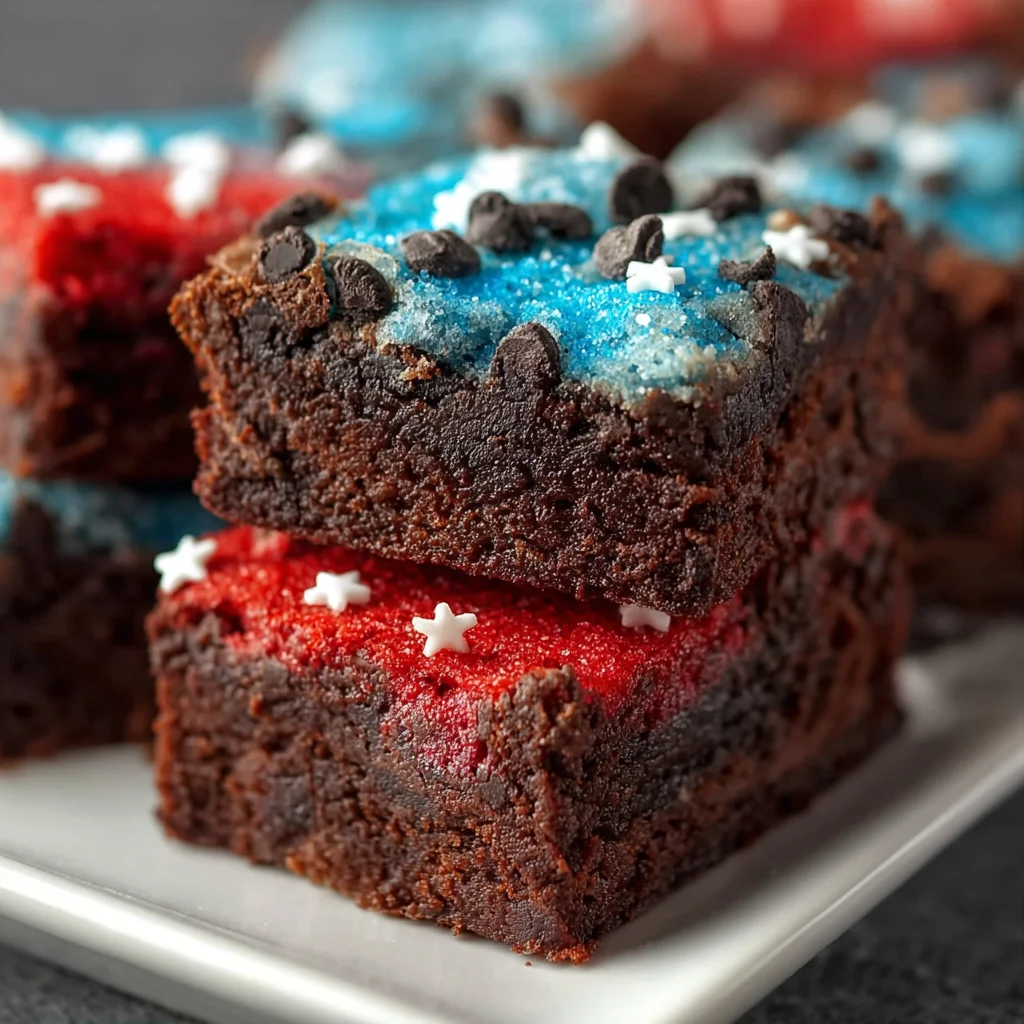
These 4th of July brownies are everything you could want in a dessert—easy to make, deliciously rich, and visually striking! You won’t spend all day in the kitchen, which means more time enjoying the festivities. Plus, the hidden cookie surprise adds a delightful twist that will leave your guests talking. They’re not just brownies; they’re a mini celebration, ready to charm at every gathering!

Ingredients for 4th of July Brownies
Creating these delightful 4th of July brownies starts with gathering some delicious ingredients. Here’s what you’ll need:
- All-purpose flour: This forms the base of your brownies, giving them structure and a rich crumb.
- Baking cocoa powder: Adds that irresistible chocolatey flavor, making each bite a decadent experience.
- Baking powder: Helps the brownies rise slightly, giving them a soft, cake-like texture.
- Salt: A touch of salt elevates the sweetness and enhances the overall flavor.
- Espresso powder: Just a hint amplifies the chocolate taste, making it even more intense and satisfying.
- Butter-flavored vegetable shortening: Keeps your brownies moist and adds a buttery essence without the butter.
- Granulated white sugar: Sweetens the brownies, creating a beautiful balance with the cocoa.
- Large eggs: These provide moisture and act as a binding agent, giving the brownies a lovely texture.
- Mini chocolate chips: A fun addition that melts in your mouth, offering bursts of chocolate flavor.
- Chocolate sandwich cookies: Oreos or Newman’s Own add a delightful surprise and a crunchy texture within your brownies.
- Food coloring gel: Get vibrant hues for a festive look; I love Americolor Sky Blue and True Red for a patriotic pop!
- Decorative sugar or sprinkles: Use these to add a bit of sparkle and fun to your finished brownies.
For exact measurements, don’t forget to check the end of this article where I’ve made things simple for you with a printable version!
How to Make 4th of July Brownies
Prepare the Cookie Sandwiches
We’ll kick off by creating our colorful cookie sandwiches. Start by twisting apart the chocolate sandwich cookies. Scrape the delicious filling into three small bowls.
Next, with the back of a spoon, mash the white filling until it’s smooth. Now, it’s time to add a pop of color! Drop a bit of red or blue food coloring gel into two of the bowls with filling, mixing until you achieve an even hue.
Once colored, transfer each filling into a separate small sandwich bag. This makes piping a breeze! Snip a tiny piece off the corner of each bag, and pipe alternating rows of the colorful frosting onto one half of each cookie.
Finally, gently press the other cookie half on top to create your festive sandwich. These colorful goodies add such a cheerful center to our brownies!
Mix Your Brownie Batter
Now that our cookie sandwiches are ready, it’s time for the brownie batter. Preheat your oven to 350° F, and don’t forget to coat your brownie pan with non-stick cooking spray.
In a medium bowl, whisk together the all-purpose flour, cocoa powder, baking powder, salt, and espresso powder. A good mix ensures you don’t have any lumps!
In the bowl of your electric mixer, combine the butter-flavored vegetable shortening, granulated white sugar, and eggs. Beat this wonderful mixture until it becomes light and fluffy, which takes about three minutes.
Gradually, add in your prepared flour mixture until just combined. Lastly, fold in the mini chocolate chips for those glorious bursts of chocolate throughout the brownies.
Assemble the Brownies
Let’s get ready to put these brownies together! If you’re using a brownie pan, scoop about two tablespoons of brownie batter into each cup. Then gently press one of your colorful cookie sandwiches into the center of each. This is where the magic happens!
Try to cover the cookie with about another tablespoon of batter, smoothing it out so it’s mostly concealed. If you’re using a 9” x 13” pan, spread about half the batter evenly in the bottom. Then, carefully press the cookie sandwiches into that layer before spreading the remaining batter on top.
Be sure to smooth it out well for even baking!
Bake the Brownies
It’s time to send these beauties to the oven! Bake your brownie bar pan for 12-15 minutes or the 9″ x 13″ pan for 20-25 minutes. Keep in mind that because of the cookie centers, the toothpick test isn’t quite reliable.
Instead, look for a firm top—the brownies are done when that’s achieved. Once baked, remove them from the oven and let them cool completely in the pan on a wire rack. This cooling step is key to the perfect texture!
Tips for Success
- Always preheat your oven for even baking.
- Use gel food coloring for a vibrant effect—it really makes your brownies pop.
- Don’t overmix the brownie batter; a few lumps are fine for a fudgy texture.
- Let the brownies cool completely before slicing to avoid a messy cut.
- For an extra treat, serve with a scoop of vanilla ice cream
Equipment Needed
- Baking pan: Use a 12-cup brownie pan or a 9” x 13” pan.
- Electric mixer: A hand mixer works fine if you don’t have a stand mixer.
- Mixing bowls: A set of varying sizes is always handy.
- Whisk: Essential for mixing dry ingredients smoothly.
- Spatula: Perfect for folding in chocolate chips and smoothing batter.
Variations on 4th of July Brownies
- Nutty Delight: Add chopped walnuts or pecans to the brownie batter for a crunchy twist.
- Gluten-Free Option: Substitute all-purpose flour with a gluten-free blend to make these brownies accessible for everyone.
- Minty Fresh: Incorporate mint chocolate chips or a few drops of peppermint extract into the batter for a refreshing flavor.
- Peanut Butter Swirl: Swirl in creamy peanut butter for a rich combination with chocolate that’ll delight your taste buds.
- Fruit Fusion: Mix in fresh raspberries or strawberries for a pop of flavor and color that complements the holiday theme.
Serving Suggestions for 4th of July Brownies
- Pair these brownies with a scoop of creamy vanilla ice cream for a delightful contrast.
- Serve with fresh berries like strawberries or blueberries for a fruity splash of color.
- Drizzle with caramel or chocolate sauce for an extra indulgent touch.
- Present on a festive platter adorned with patriotic decorations for a cheerful display.
- Top with whipped cream and a sprinkle of decorative sugar for an inviting finish.
FAQs about 4th of July Brownies
Can I make 4th of July brownies ahead of time?
Absolutely! These brownies can be made a day in advance. Just store them in an airtight container at room temperature. They’ll stay fresh and ready to serve.
What can I use instead of chocolate sandwich cookies?
If you want to switch things up, use any crunchy cookie you love! Vanilla sandwiches or other flavored cookies work well too. Just have fun with it!
How do I know when my brownies are done baking?
Since the cookie center makes the toothpick test tricky, look for a firm top. If your brownies feel set and the top looks slightly shiny, they’re ready!
Can I freeze the brownies?
Definitely! You can freeze these brownies for up to 3 months. Just make sure they’re fully cooled and wrapped tightly to avoid freezer burn.
What’s the best way to store leftover brownies?
Store them in an airtight container at room temperature for up to two weeks. Just be sure they’re completely cool to keep their delicious texture!
Final Thoughts
As I reflect on my experience making these 4th of July brownies, I find joy not just in the end product, but in the process itself. Watching my family’s faces light up as they discover the colorful cookie surprise inside warms my heart. These brownies bring a celebration to life, transforming any gathering into a festive occasion. So whether you’re hosting a barbecue or simply enjoying a quiet evening at home, these treats are sure to evoke smiles and create lasting memories. Let’s make this holiday one to remember, one delicious bite at a time!
Print4th of July Brownies

Delicious and festive brownies perfect for 4th of July celebrations, featuring colorful cookie sandwiches inside.
- Prep Time: 30 minutes
- Cook Time: 20-25 minutes
- Total Time: 50-55 minutes
- Yield: 12–16 brownies 1x
- Category: Dessert
- Method: Baking
- Cuisine: American
- Diet: Vegetarian
Ingredients
- 1 ½ cups all-purpose flour
- 1 cup baking cocoa powder
- ½ teaspoon baking powder
- ½ teaspoon salt
- 1 teaspoon espresso powder
- ⅔ cup butter-flavored vegetable shortening
- 2 cups granulated white sugar
- 4 large eggs
- 1 cup mini chocolate chips
- 27 chocolate sandwich cookies (Newman’s Own or Oreos)
- Food coloring gel (Americolor Sky Blue and True Red)
- Decorative sugar or sprinkles
Instructions
- Twist apart the cookies and scrape the filling into three small bowls.
- Mash the white filling with the back of a spoon until smooth. Add a drop of red or blue food coloring gel to the other filling bowls and mix until smooth and evenly colored.
- Transfer each filling into the corner of a separate small sandwich bag.
- Snip a small piece of the corner off each bag, then pipe alternating colors of rows of frosting back onto a cookie half.
- Top with the other half of the cookie to form a sandwich, pressing gently to adhere.
- Preheat the oven to 350° F. Coat a 12-cup pan (or 9″x 13″ pan) with non-stick cooking spray.
- In a medium bowl, whisk together the flour, cocoa, baking powder, salt and espresso powder. Set aside.
- In the bowl of an electric mixer, combine the shortening, sugar, and eggs. Beat until light in color and fluffy (about 3 minutes).
- Gradually add in the flour mixture, until combined.
- Stir in the mini chocolate chips.
- Scoop about 2 tablespoons of batter into each individual brownie cup. Gently press a sandwich cookie into the center of each cup so that the batter comes up around the edges of the cookie.
- Top each cookie with a tablespoon of batter and smooth to cover the Oreo completely. The cup will be almost, but not quite, full.
- FOR A 9” x13” PAN: Spread half of the batter evenly into the prepared pan. Gently press the sandwich cookies into the batter. Top with the remaining batter. Use a spatula or spoon to smooth the surface.
- Bake the brownie bar pan for 12-15 minutes or the 9″ x 13″ pan for 20-25 minutes. The toothpick test doesn’t work very well because of the cookie center. If the top is firm, the brownies are done.
- Remove from the oven and cool completely in the pan on a wire rack.
- Store brownies at room temperature in an airtight container or zip lock bag for up to 2 weeks.
Notes
- Use gel food coloring for vibrant hues.
- Ensure brownies are cooled completely before storing.
Nutrition
- Serving Size: 1 brownie
- Calories: 250
- Sugar: 15g
- Sodium: 150mg
- Fat: 12g
- Saturated Fat: 4g
- Unsaturated Fat: 6g
- Trans Fat: 0g
- Carbohydrates: 34g
- Fiber: 2g
- Protein: 3g
- Cholesterol: 50mg