Introduction to Cherry Cheese Danish
Welcome to my kitchen! If you’re anything like me, balancing life’s to-do list can feel overwhelming. That’s why I’m excited to share this delightful Cherry Cheese Danish recipe with you. It’s a quick solution on those hectic days when you crave something delicious yet easy! With just a few simple ingredients, you can whip up a treat that not only satisfies your sweet tooth but also impresses your loved ones. Picture golden-brown, flaky pastry with creamy filling and juicy cherry topping; it’s pure bliss! Let’s dive into this magical little world of pastries together.
Why You’ll Love This Cherry Cheese Danish
This Cherry Cheese Danish is a game-changer for busy moms and professionals alike. It’s incredibly easy to make—who doesn’t love a recipe that requires minimal effort? You can have these delightful pastries ready in just 40 minutes! Plus, the combination of creamy cheese and sweet cherry filling is an absolute crowd-pleaser. Whether it’s brunch with friends or a cozy dessert after dinner, this treat will always brighten your day!
Ingredients for Cherry Cheese Danish
Let’s talk about the ingredients that create this delightful masterpiece! Each one plays a vital role in crafting that delicious Cherry Cheese Danish we all crave. Here’s what you’ll need:
- Puff Pastry: The star of our show! This flaky dough is the perfect base for your danish. It puffs up beautifully when baked. Make sure it’s fully thawed to make handling easier.
- Cherry Pie Filling: This adds a sweet and tart burst of flavor! You can use store-bought canned filling for convenience or even homemade for a personal touch. Either way, it’s pure deliciousness!
- Cream Cheese: The creamy heart of our pastry! It adds richness and a delightful tang. Soften it beforehand for easy whisking—you want that smooth texture.
- Granulated Sugar: A touch of sweetness to balance the tangy cream cheese. You can adjust this based on your preference or use a sugar substitute if desired.
- Vanilla Extract: This elevates the flavor of the cream cheese filling and adds warmth to the overall dish. Try using pure vanilla for a more robust taste!
- Egg: Used for the egg wash, it gives your Danish that beautiful golden finish. Feel free to replace it with a vegan alternative if needed!
For exact quantities of these ingredients, be sure to check the end of this article, where you can find everything listed out for easy printing. Happy baking!

How to Make Cherry Cheese Danish
Now that we’ve explored the enchanting ingredients, it’s time to bring them together and create our delicious Cherry Cheese Danish. I promise you, with these simple steps, you’ll be amazed at how quickly you can pull this off! Let’s roll up our sleeves and get started.
Step 1 – Preheat the Oven
First things first; we need to preheat the oven to 375°F (190°C). This step is crucial for puff pastry. A hot oven makes sure the pastry puffs beautifully, creating that delightful flaky texture. So, flip that switch on and let the oven warm up while we prepare everything else!
Step 2 – Prepare the Puff Pastry
Once your puff pastry is thawed, sprinkle a bit of flour on your countertop. This prevents sticking. Roll out the dough gently to about a quarter-inch thick. Next, grab a knife or pizza cutter and slice it into four square pieces, each measuring about 4×4 inches. The squares should be even to ensure uniform baking.
Step 3 – Make the Cream Cheese Filling
In a mixing bowl, combine the softened cream cheese, granulated sugar, and vanilla extract. Use a hand mixer or a whisk. Beat it until the mixture is smooth and fluffy—think of it as a creamy cloud of happiness! Make sure there are no lumps, as you want every bite to be velvety and divine.
Step 4 – Assemble the Danish
Now for the fun part! Take one square of your puff pastry and place a generous spoonful of the cream cheese filling in the center. Then, add a dollop of cherry pie filling right on top of the cheese mixture. Time to fold! Gently bring each corner of the pastry up over the filling to create little pockets. Pinch the edges to seal them tight, like giving your treats a cozy hug!
Step 5 – Apply the Egg Wash
In a small bowl, beat an egg to create your egg wash. This step is what transforms your pastries into golden beauties! Brush a light layer over the top of each sealed danish. It not only gives that beautiful shiny finish but also enhances the flavor.
Step 6 – Bake Your Cherry Cheese Danish
Now it’s time for the pièce de résistance! Carefully place your assembled danishes on a baking sheet lined with parchment paper. Pop them in the oven and let them bake for 20-25 minutes. Keep an eye on them—the goal is a golden-brown finish. When they puff up and turn golden, you’ll know they’re ready for their big reveal! Allow them to cool for a few moments, then bask in the delightful aroma before serving.
Tips for Success
- Ensure your puff pastry is fully thawed to avoid tearing.
- Don’t rush the preheating of the oven; it’s key for perfect puffing.
- For a bigger cherry burst, add extra pie filling on top before sealing.
- Experiment with flavors; almond extract pairs beautifully with cherry!
- Cool your danishes slightly before serving; the filling can be hot!
Equipment Needed
- Baking sheet: Any baking sheet will do, but one lined with parchment paper makes cleanup a breeze.
- Rolling pin: If you don’t have one, a wine bottle can work in a pinch!
- Mixing bowls: Use any sturdy bowls for mixing your ingredients.
- Whisk or hand mixer: To blend that cream cheese—either works great!
- Knife or pizza cutter: For cutting the puff pastry into squares.
Variations of Cherry Cheese Danish
- Mixed Berry Danish: Swap out the cherry filling for a mix of your favorite berries like blueberries and raspberries. The vibrant colors and flavors will make your pastries pop!
- Chocolate Cherry Danish: Add a few chocolate chips to the cream cheese filling for an indulgent touch. Chocolate and cherry are a match made in sweet heaven!
- Almond Cream Cheese Danish: Enhance the cream cheese filling with almond extract instead of vanilla. The nutty flavor pairs beautifully with cherry!
- Gluten-Free Option: Use gluten-free puff pastry for a treat that’s safe for gluten-sensitive eaters. It’s just as flaky and delicious!
- Cinnamon Sugar Danish: Mix cinnamon and sugar into your cream cheese filling for a delightful twist. It adds warmth and spice to each bite!
Serving Suggestions for Cherry Cheese Danish
- Pair with Coffee: A hot cup of coffee brings out the sweetness and tartness of the danish perfectly.
- Add Whipped Cream: A dollop of fresh whipped cream on the side adds a creamy touch!
- Fruit Platter: Serve alongside a colorful fruit platter for a vibrant brunch presentation.
- Garnish with Mint: A sprig of fresh mint not only looks beautiful but also adds a refreshing hint.
- Drizzle with Icing: A simple icing drizzle elevates these danishes to a bakery-level treat!
FAQs about Cherry Cheese Danish
Curious about some common questions regarding this delightful Cherry Cheese Danish? I’ve got you covered! Here are a few frequently asked questions that might just help you on your baking adventure.
Can I use fresh cherries instead of cherry pie filling? Absolutely! If you have fresh cherries, you can pit and chop them. Just make sure to add a little sugar to sweeten them up, as they can be tart on their own.
How do I store leftover Cherry Cheese Danish? Store any leftovers in an airtight container at room temperature for up to two days. You can also refrigerate them for a longer shelf life, although they are best enjoyed fresh!
Can I freeze these danishes? Yes, you can! If you’d like to freeze them, let them cool completely after baking. Then, wrap each danish in plastic wrap and store in a freezer-safe bag for up to three months. Just reheat in the oven when you’re ready to enjoy.
What other flavors work well with cream cheese filling? Oh, so many options! You can try adding lemon zest for a refreshing twist or even mix in some chocolate chips for an indulgent treat!
Can I make these danishes ahead of time? Definitely! You can assemble them a few hours in advance. Just refrigerate until you’re ready to bake. This makes them a perfect make-ahead dessert!
Final Thoughts
As I wrap up this journey through my cherished Cherry Cheese Danish recipe, I can’t help but smile at the memories it creates. This delightful pastry is more than just a treat; it’s a way to bring joy to your loved ones, even on the busiest of days. With its flaky, buttery crust and creamy filling, each bite is a reminder that simple pleasures can spark happiness. So, gather your family and friends around the table, share a warm danish, and enjoy some laughter. Trust me; the smiles you receive in return will be priceless!
PrintCherry Cheese Danish

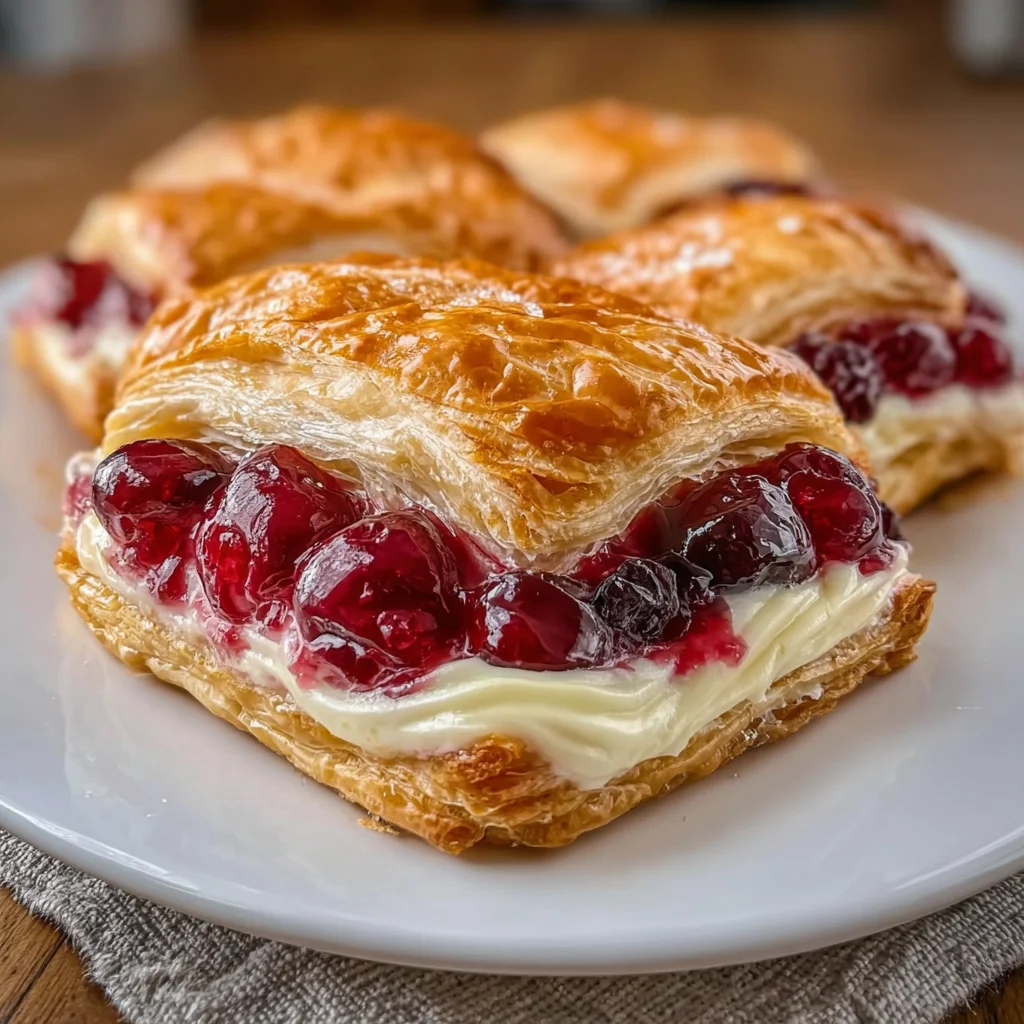
A delicious Cherry Cheese Danish made with puff pastry and a creamy cheese filling, topped with cherry pie filling.
- Prep Time: 15 minutes
- Cook Time: 25 minutes
- Total Time: 40 minutes
- Yield: 4 servings 1x
- Category: Dessert
- Method: Baking
- Cuisine: American
- Diet: Vegetarian
Ingredients
- 1 sheet puff pastry (thawed)
- 1 cup cherry pie filling (canned)
- 8 oz cream cheese (softened)
- 1/4 cup granulated sugar
- 1 tsp vanilla extract
- 1 egg (for egg wash)
Instructions
- Preheat the oven to 375°F (190°C).
- Roll out the thawed puff pastry on a floured surface and cut into four 4×4-inch squares.
- In a bowl, mix softened cream cheese, sugar, and vanilla until smooth.
- Place a spoonful of cream cheese mixture in the center of each square and add a dollop of cherry pie filling on top.
- Fold the corners of the pastry over the filling to create pockets and pinch to seal.
- Brush each danish with beaten egg for a golden finish.
- Bake for 20-25 minutes or until golden brown.
Notes
- Ensure the puff pastry is fully thawed for easy handling.
- For an extra touch, sprinkle powdered sugar on top before serving.
Nutrition
- Serving Size: 1 danish (85g)
- Calories: 290
- Sugar: 12g
- Sodium: 180mg
- Fat: 18g
- Saturated Fat: 10g
- Unsaturated Fat: 7g
- Trans Fat: 0g
- Carbohydrates: 26g
- Fiber: 1g
- Protein: 4g
- Cholesterol: 45mg