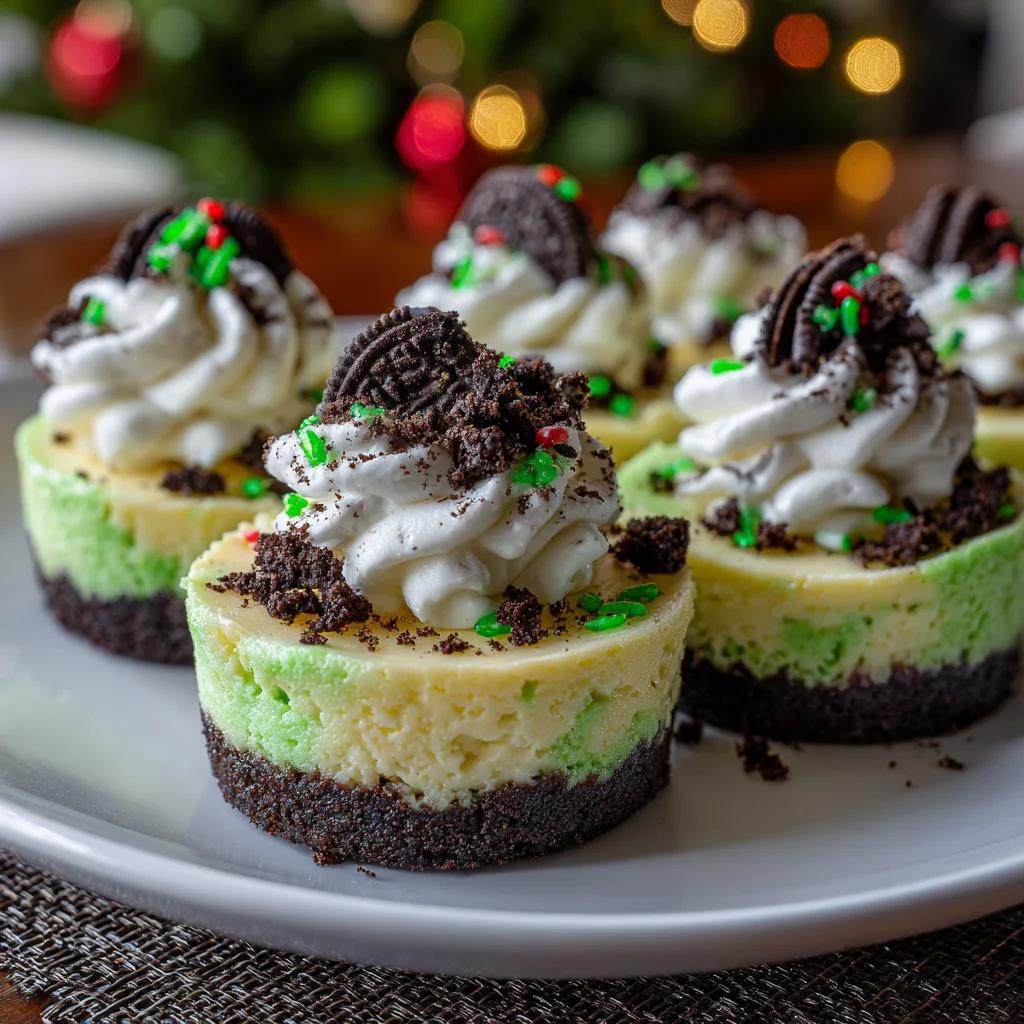
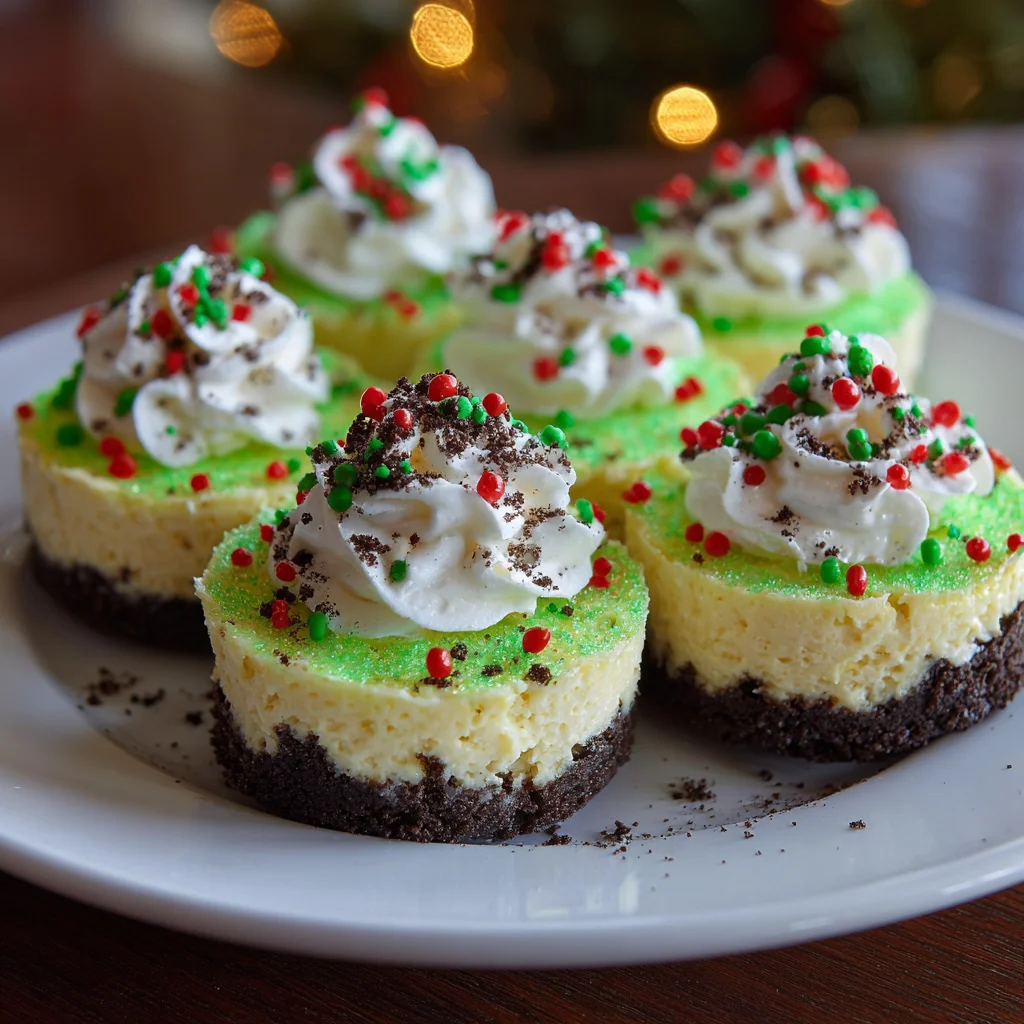
Introduction to Grinch Mini Cheesecakes
Holiday season is just around the corner, and I can already feel the excitement in the air! If you’re looking for a little magic in your kitchen, these Grinch Mini Cheesecakes are just the ticket. They’re super easy to whip up and absolutely delightful to eat, making them a perfect treat for busy days or festive gatherings. Imagine surprising your loved ones with these charming, vibrant cheesecakes that not only taste fantastic but also bring a smile to every face. Trust me, they’ll be jolly happy to indulge!
Why You’ll Love This Grinch Mini Cheesecakes
These Grinch Mini Cheesecakes are a holiday dream come true! For starters, they’re incredibly quick and easy to make, which is a game changer when juggling family, work, and festive activities. Plus, their adorable look is sure to impress both kids and adults alike. Each bite is creamy and flavorful, allowing you to indulge guilt-free, knowing they’re a hit perfect for any holiday gathering!
Ingredients for Grinch Mini Cheesecakes
To bring your Grinch Mini Cheesecakes to life, you’ll gather a handful of simple yet delightful ingredients. Here’s what you’ll need:
- Oreo Crumbs: The secret to a delightfully crunchy crust! I love using classic Oreos for that rich chocolate base, but you can also experiment with any chocolate cookie that catches your fancy.
- Butter: A little melted butter brings the crumbs together, creating a firm yet tender base. If you’re looking for a lighter option, coconut oil is a fantastic substitute!
- Cream Cheese: This is the star of the show! Softened cream cheese gives your cheesecakes their creamy texture. For a lighter alternative, consider using Neufchâtel cheese.
- Sugar: Sweetness is essential! Regular granulated sugar works perfectly, but you can try coconut sugar for a more natural sweetness.
- Eggs: They provide structure and creaminess to your filling. For a vegan alternative, you can use flax eggs or a commercial egg replacer.
- Vanilla: A dash of vanilla extract adds warmth and depth, making the cheesecakes extra special.
- Neon Green Food Coloring: This is what truly makes these cheesecakes scream “Grinch”! Feel free to adjust the amount based on how vibrant you want them to be.
Don’t worry; if you need the precise measurements, they’re at the bottom of this article and ready for printing!
How to Make Grinch Mini Cheesecakes
Preheat the Oven and Prepare the Cupcake Pan
Let’s get started by preheating your oven to 350 degrees Fahrenheit—this is crucial for that perfect bake. While that heats up, grab a cupcake pan and line it with cute cupcake liners. I love the festive holiday designs, but any liners work! The liners will ensure your cheesecakes pop out easily later on. It’s like giving your treats the best little home to bake in!
Make the Oreo Base for the Cheesecakes
Now, let’s create that delectable crust. Grab about 10-11 Oreos and toss them into a food processor. Pulse them into fine crumbs—it should look like sandy goodness! Next, drizzle in about two and a half tablespoons of melted butter. Pulse it again until everything is well combined. The mixture should resemble wet sand. Divide this cookie goodness evenly among your cupcake liners and press it down firmly. Trust me, this crunchy base will take your cheesecakes to the next level!
Prepare the Cream Cheese Mixture
In a medium-sized bowl, it’s time to make the creamy filling. Beat two softened packages of cream cheese and half a cup of sugar together until smooth. I like to use an electric mixer for this—as it makes achieving that dreamy texture a breeze. Once fully blended, add two eggs and a teaspoon of vanilla extract. Beat until it’s all combined and fluffy. You’re going to want to lick that spatula—just saying!
Add the Grinchy Green Color
Now comes the fun part! Add in neon green food coloring to your cream cheese mixture. Start with a few drops, then mix well until you reach your desired Grinchy hue. Feel free to adjust the amount as you go—make it as vibrant as your holiday spirit! It’s like painting, but even tastier!
Fill and Bake the Cheesecakes
Alright, it’s time to fill our cupcake liners! Spoon about a quarter cup of the cream cheese mixture into each one, making sure they’re all nicely filled. Pop the pan into the oven and let them bake for 15 to 17 minutes. Keep an eye out—the centers should be slightly jiggly when you take them out. That’s the secret to a perfectly creamy cheesecake!
Cool and Chill the Cheesecakes
Once you’ve baked them to perfection, let them cool completely in the pan. This part is essential; it helps them firm up just right. Once cooled, transfer them to the fridge for a couple of hours. This chilling time allows the flavors to marry and gets them to the right texture. You’ll love how creamy they become after that wait!
Tips for Success
- Make sure your cream cheese is softened for easy mixing and smooth texture.
- Don’t overbake the cheesecakes; they should remain slightly jiggly in the center.
- Cool the cheesecakes in the pan to prevent cracks.
- Adjust the food coloring gradually to get your desired shade of green.
- Add festive toppings like red sprinkles for extra holiday flair!
Equipment Needed for Grinch Mini Cheesecakes
- Oven: Essential for baking! An air fryer can also work for a quicker option.
- Cupcake Pan: A regular muffin tin will do the trick if you don’t have one.
- Food Processor: For easy crumb making. A zip-top bag and rolling pin work too!
- Mixing Bowls: Grab a set for easy mixing. Just any bowl will work!
- Electric Mixer: A hand whisk will suffice if you prefer a workout!
Variations of Grinch Mini Cheesecakes
- Chocolate Drizzle: Add a rich chocolate drizzle on top for a delightful contrast to the green. It’s decadently festive!
- Fruit Topping: Top each cheesecake with fresh raspberries or strawberries for a fruity twist, adding both flavor and color.
- Gluten-Free Option: Use gluten-free chocolate cookies instead of Oreos to make a delicious gluten-free crust!
- Dark Chocolate Cheesecakes: Replace half of the cream cheese with dark chocolate for an indulgent yet still festive treat.
- Mini Versions: Use mini muffin tins for bite-sized cheesecakes that are perfect for parties or snacking!
Serving Suggestions for Grinch Mini Cheesecakes
- Serve with a dollop of whipped cream on top for an extra creamy finish.
- Pair with peppermint hot cocoa for a festive drink that complements the flavors.
- Add red and green sprinkles for an eye-catching presentation.
- Present on a platter with holiday-themed decorations for a delightful display.
- Offer alongside fresh fruit like strawberries or raspberries for a refreshing contrast!
FAQs about Grinch Mini Cheesecakes
Can I make Grinch Mini Cheesecakes ahead of time?
Absolutely! These delicious treats can be made a day or two in advance. Just keep them stored in the refrigerator to maintain their freshness. They’re great for holiday parties!
Can I freeze these cheesecakes?
Yes, you can! After cooling, wrap each mini cheesecake individually and place them in an airtight container in the freezer. You can enjoy them up to a month later; just thaw them in the fridge before serving.
What if I don’t have neon green food coloring?
If neon green isn’t available, regular green food coloring works just fine! It may not be as vibrant, but still festive nonetheless. You could even get creative with color combinations!
Can I substitute cream cheese with another ingredient?
For a lighter option, try using Neufchâtel cheese, or if you want a dairy-free twist, opt for cashew cream or a vegan cream cheese. The texture might vary, but they’ll still be delightful!
How should I store leftover Grinch Mini Cheesecakes?
Store any leftovers in an airtight container in the refrigerator. They will keep well for about a week. Just remember to leave room for them to breathe!
Final Thoughts
Creating these Grinch Mini Cheesecakes is not just about baking; it’s about spreading joy and sharing moments with loved ones. Each vibrant bite bursts with flavor, embodying the festive spirit we all cherish during the holidays. Whether it’s a cozy night in or a cheerful gathering, these little treats double as both a delicious dessert and a conversation starter! So gather your ingredients, turn on some holiday tunes, and let the kitchen become your canvas for festive creativity. You’re just a whisk away from making magical memories and brightening someone’s day!
PrintGrinch Mini Cheesecakes: Delight in a Festive Treat!
Delight in these festive Grinch Mini Cheesecakes that bring holiday cheer in a delicious, bite-sized treat.
- Prep Time: 20 minutes
- Cook Time: 17 minutes
- Total Time: 2 hours 37 minutes
- Yield: 12 mini cheesecakes 1x
- Category: Dessert
- Method: Baking
- Cuisine: American
- Diet: Vegetarian
Ingredients
- 1 cup Oreo Crumbs
- 2 1/2 tbsp Butter, Melted
- 2 (8 oz) Cream Cheese, Softened
- 1/2 cup Sugar
- 2 Eggs
- 1 tsp Vanilla
- Neon Green Food Coloring
Instructions
- Preheat oven to 350 degrees. Line a cupcake pan with liners.
- Pulse about 10-11 Oreos in a food processor to make crumbs. Then pulse in melted butter until well combined.
- Divide crumbs evenly between each liner and press down firmly.
- In a medium size bowl, beat softened cream cheese and sugar until smooth. Beat in eggs and vanilla.
- Mix in neon green food coloring until the desired Grinchy color is reached.
- Spoon about 1/4 cup mixture into each cup, filling them evenly.
- Bake for 15-17 minutes. The centers of the cheesecakes should be slightly jiggly. Remove from the oven and let completely cool in the pan. Then refrigerate until firm.
- Top with whipped cream and sprinkles if desired.
Notes
- You can adjust the amount of neon green food coloring to achieve your preferred shade of green.
- For added flair, decorate with red sprinkles or candy on top.
Nutrition
- Serving Size: 1 mini cheesecake
- Calories: 200
- Sugar: 12g
- Sodium: 150mg
- Fat: 12g
- Saturated Fat: 7g
- Unsaturated Fat: 3g
- Trans Fat: 0g
- Carbohydrates: 20g
- Fiber: 1g
- Protein: 3g
- Cholesterol: 50mg


