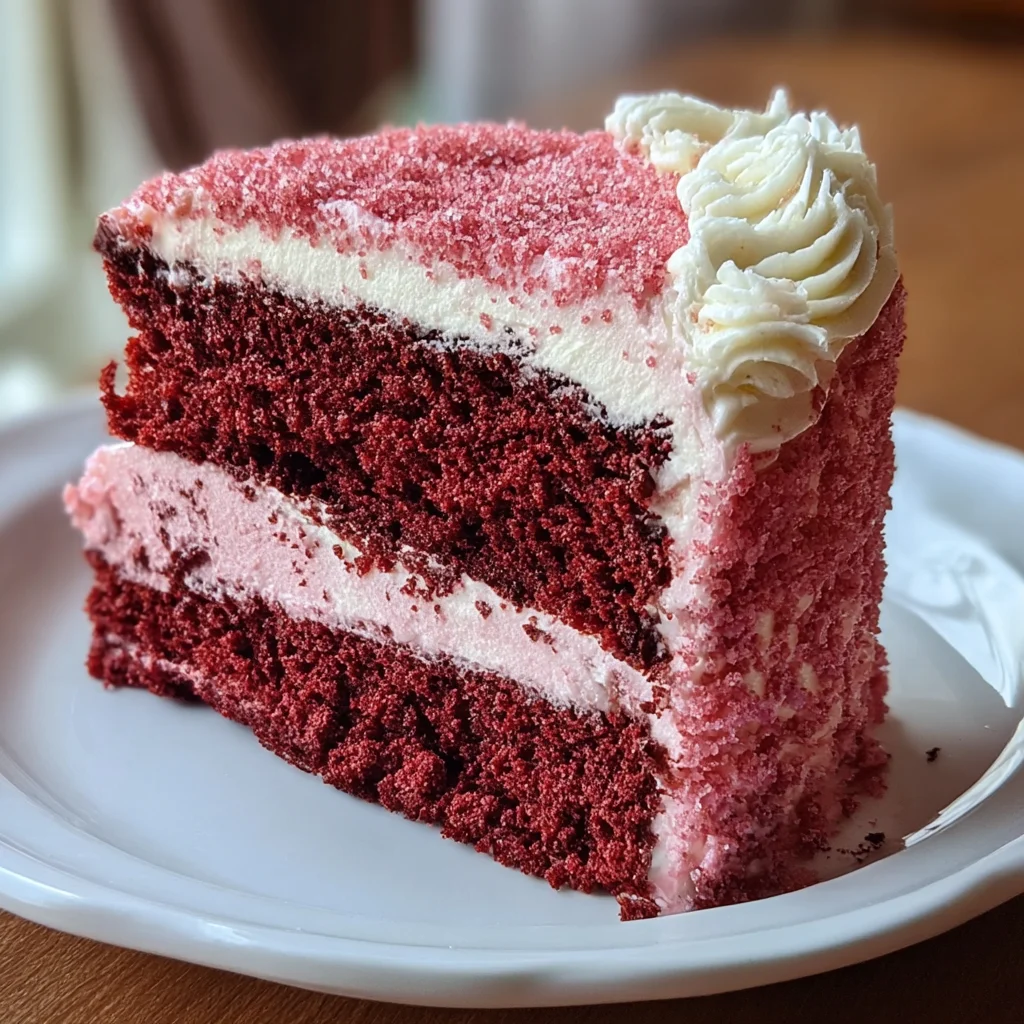
Introduction to Mother’s Day Pink Velvet Cake
Mother’s Day is a wonderful opportunity to show our love with a special treat, and what could be sweeter than a lovely Mother’s Day Pink Velvet Cake? There’s something incredibly charming about the cheerful pink hue that makes it a delightful centerpiece for any celebration. I know how busy life can get, especially for moms like us, juggling kids, work, and everything in between. This recipe is not only simple but also produces a stunning cake that tastes as good as it looks. Let’s whip up this sweet celebration and create lasting memories together!
Why You’ll Love This Mother’s Day Pink Velvet Cake
This Mother’s Day Pink Velvet Cake is a crowd-pleaser that balances taste and ease effortlessly. With just a few simple steps, you’ll bake a vibrant cake that’s both moist and flavorful. Plus, your loved ones will be charmed by its stunning appearance! It’s the perfect dessert to celebrate the special women in our lives—delicious and memorable without taking over your entire day. Who doesn’t love a cake that brings joy and simplicity to baking?
Ingredients for Mother’s Day Pink Velvet Cake
Let’s gather the delightful ingredients for our Mother’s Day Pink Velvet Cake. Each one plays an essential role in creating that perfect balance of flavor and texture. Here’s what you’ll need:
- Cake flour: This gives a soft crumb that makes the cake light and fluffy.
- Granulated sugar: Sweetness is key! Sugar enhances not just taste but also moisture.
- Unsweetened cocoa powder: Adds a subtle chocolate flavor and contributes to the cake’s beautiful color.
- Baking powder: This leavening agent ensures the cake rises beautifully, making it airy and light.
- Salt: A pinch of salt enhances the sweetness by balancing flavors.
- Unsalted butter: This creamy ingredient provides rich flavor and helps in creating a tender texture.
- Eggs: They bind all the ingredients together, adding moisture and richness to each bite.
- Buttermilk: This adds tanginess and contributes to the cake’s moist texture. Don’t have it? Use regular milk with a splash of vinegar or lemon juice!
- Pure vanilla extract: Just a touch elevates the cake with a wonderful aroma that compliments the sweetness.
- Red food coloring: A must for achieving that lovely pink hue that makes this cake truly stand out. Adjust to your preferred shade!
- Cream cheese frosting: A deliciously tangy topping that pairs beautifully with the sweetness of the cake.
For those interested in the exact quantities of these ingredients, I assure you they are detailed at the bottom of the article and ready for printing!

How to Make Mother’s Day Pink Velvet Cake
Let’s dive right into the fun part—making our Mother’s Day Pink Velvet Cake! I’ll guide you through each step to ensure your cake turns out perfect. With my tips, you’ll be a cake-baking star!
Step 1: Preheat the Oven and Prepare the Pans
First, preheat your oven to 350°F (175°C). This is crucial for achieving that perfect bake. While the oven heats up, grease two 9-inch round cake pans with a bit of butter or cooking spray. You can also line the bottoms with parchment paper for easy removal later. Trust me; this makes cleanup a breeze!
Step 2: Mix Dry Ingredients
Now, it’s time to grab a mixing bowl. Whisk together your cake flour, cocoa powder, baking powder, and salt. This step helps to evenly distribute all those dry ingredients. Plus, it breaks up any lumps, giving you a silky smooth batter.
Step 3: Cream Butter and Sugar
In a separate bowl, let’s get that butter and sugar together. Beat them until they look light and fluffy. This is where the magic happens, as it adds a wonderful texture to your cake. I usually do this for about 2 to 3 minutes, constantly scraping down the sides of the bowl!
Step 4: Incorporate Eggs
Okay, it’s egg time! Add them one at a time to the creamed mixture, mixing well after each addition. This is vital, as it helps with the structure of the cake. Make sure to continue beating until everything is just combined—no need to overdo it!
Step 5: Add Wet Ingredients
Now, let’s make it moist! Pour in the buttermilk, vanilla extract, and red food coloring. Mix until everything is well combined. The color is what makes this cake a showstopper, so feel free to adjust the food coloring to achieve that beautiful pink hue you desire!
Step 6: Combine Dry and Wet Ingredients
Next, it’s the moment of truth! Gradually fold the dry ingredients into the wet ingredients until it’s just blended. Avoid overmixing here; a few lumps are totally okay. We want to keep that airy texture for a light and fluffy cake!
Step 7: Bake the Cakes
Now, divide the batter evenly between the prepared pans. Slide them into the oven and bake for 25 to 30 minutes. The cakes are ready when a toothpick comes out clean. Those yummy scents wafting through your kitchen will make your family eager for dessert!
Step 8: Cool and Frost
Once baked, let the cakes cool in their pans for about 10 minutes. Then, gently transfer them to wire racks to cool completely. This step is crucial—for a flawless frosting experience. Use your cream cheese frosting to top it off, and get ready to enjoy the masterpiece you’ve created!
Tips for Success
- Always preheat your oven for even baking.
- Use room temperature eggs for better mixing.
- Don’t skip the cooling time; it prevents melting frosting.
- Adjust the red food coloring for your desired pink shade.
- Keep measuring cups and spoons handy for precise ingredient ratios.
- For added fun, decorate with fresh berries or sprinkles!
Equipment Needed
- Mixing bowls: A set of different sizes for mixing and combining ingredients.
- Electric mixer: Handy for creaming butter and sugar; a whisk will also work!
- 9-inch round cake pans: If unavailable, use square or rectangular pans instead.
- Wire cooling racks: These provide airflow; a plate can substitute if needed.
- Measuring cups and spoons: Essential for accuracy, even if you eyeball it occasionally!
Variations
- Red Velvet Twist: For an interesting touch, you can substitute half of the cocoa powder with additional flour and keep the red food coloring for a classic red velvet cake.
- Gluten-Free Option: Try using a gluten-free cake flour blend to accommodate dietary needs. It’s just as delicious while being friendly for gluten-sensitive friends!
- Alternate Frosting: Swap the cream cheese frosting for a light whipped cream or sweet vanilla buttercream for a different flavor profile.
- Fruit Enhancements: Fold in fresh raspberries or strawberries into the batter before baking for a fruity surprise in every bite.
- Lemon Zest Addition: Add a teaspoon of lemon zest to the batter for a zesty twist that brightens the flavor.
- Layered Delight: Consider making a layer cake with this batter by adding a layer of lemon curd or raspberry jam between the cakes for an eye-catching delight!
Serving Suggestions
- Pair with a steaming cup of coffee or herbal tea for a delightful afternoon treat.
- Serve alongside fresh berries or a simple fruit salad for a refreshing contrast.
- Garnish with edible flowers for a stunning presentation that truly celebrates the occasion.
- Present on a decorative cake stand to elevate your Mother’s Day celebration!
FAQs about Mother’s Day Pink Velvet Cake
As you prepare to bake this delightful Mother’s Day Pink Velvet Cake, you may have a few questions. Here are some answers to help you on your baking journey!
Can I make this cake ahead of time? Absolutely! You can bake the cakes a day in advance. Just wrap them tightly in plastic wrap and store in the fridge. Frost them the following day for the freshest taste!
Is there a substitute for buttermilk? Yes! If you don’t have buttermilk, simply mix one cup of regular milk with a tablespoon of vinegar or lemon juice. Let it sit for 5-10 minutes to thicken before using.
How can I store leftovers? Store any leftover cake in an airtight container in the refrigerator for up to 3 days. Just remember to cover it well to keep it moist!
Can I use homemade cream cheese frosting? Definitely! Homemade frosting usually tastes fresher and creamier. Just make sure it’s a stable recipe so it holds up well on the cake.
What if my cake doesn’t rise? If your cake doesn’t rise as expected, double-check that your baking powder is fresh. Also, be sure not to overmix the batter, which can create a dense cake.
Final Thoughts
Creating this Mother’s Day Pink Velvet Cake is more than just baking; it’s an expression of love and creativity. As you slice into that light, fluffy delight, you’ll see the joy radiating from your family’s faces. This cake is a celebration of the bond we share with the special women in our lives. Whether it’s to surprise your mom or to treat yourself, this vibrant cake makes every moment memorable. Remember, it’s not just about the cake; it’s about the laughter, the stories, and the warm hugs that accompany each bite. Enjoy every slice!
PrintMother’s Day Pink Velvet Cake: A Sweet Celebration Recipe

A delightful and colorful pink velvet cake perfect for celebrating Mother’s Day.
- Prep Time: 20 minutes
- Cook Time: 30 minutes
- Total Time: 50 minutes
- Yield: 12 servings 1x
- Category: Dessert
- Method: Baking
- Cuisine: American
- Diet: Vegetarian
Ingredients
- 2 ½ cups cake flour
- 1 ¾ cups granulated sugar
- ½ cup unsweetened cocoa powder
- 1 tbsp baking powder
- ½ tsp salt
- ¾ cup unsalted butter, softened
- 4 large eggs (room temperature)
- 1 cup buttermilk
- 2 tsp pure vanilla extract
- Red food coloring (to achieve desired pink hue)
- Cream cheese frosting (for topping)
Instructions
- Preheat oven to 350°F (175°C) and grease two 9-inch round cake pans.
- In a bowl, whisk together cake flour, cocoa powder, baking powder, and salt.
- Cream softened butter and sugar until light and fluffy.
- Add eggs one at a time to the creamed mixture.
- Mix in buttermilk, vanilla extract, and red food coloring until combined.
- Gradually fold in dry ingredients until smooth.
- Divide batter between prepared pans and bake for 25-30 minutes or until a toothpick comes out clean.
- Cool cakes in pans for ten minutes before transferring to wire racks to cool completely. Frost as desired with cream cheese frosting.
Notes
- Make sure eggs are at room temperature for better incorporation.
- Adjust the amount of food coloring to achieve your preferred shade of pink.
- Let the cakes cool completely before frosting to prevent melting.
Nutrition
- Serving Size: 1 slice
- Calories: 350
- Sugar: 22g
- Sodium: 400mg
- Fat: 15g
- Saturated Fat: 9g
- Unsaturated Fat: 4g
- Trans Fat: 0g
- Carbohydrates: 45g
- Fiber: 1g
- Protein: 4g
- Cholesterol: 80mg