Introduction to Sticky Garlic Chicken Noodles
Hey there, fellow home cooks! If you’re like me, you know that some days scream for a quick yet delicious meal. That’s where my Sticky Garlic Chicken Noodles come into play. This dish wraps tender chicken in a sweet and savory sauce, kissing it over a bed of warm noodles. Perfect for impressing your family or jazzing up a regular weeknight dinner, it brings smiles without demanding hours in the kitchen. Come on, let’s dive into this delightful recipe that promises to become one of your go-to favorites!
Why You’ll Love This Sticky Garlic Chicken Noodles
This Sticky Garlic Chicken Noodles recipe is a game-changer for busy nights. It’s quick, taking just 30 minutes from prep to plate. The combination of sweet honey and savory garlic creates an unforgettable flavor explosion that’ll have your loved ones begging for seconds. Plus, it’s versatile—perfect when you want to impress with minimal effort. You’ll find yourself returning to this recipe again and again!
Ingredients for Sticky Garlic Chicken Noodles
Gathering the right ingredients is the first step to whipping up these delicious Sticky Garlic Chicken Noodles. Here’s what you’ll need:
- Chicken: I prefer using either breast or thighs. Thighs are juicier, while breasts are leaner—pick what suits your family’s taste.
- Soy Sauce: This adds depth and umami. For a gluten-free dish, try tamari instead!
- Honey: The sweetness balances the savory notes perfectly. Maple syrup can work in a pinch if you’re out of honey.
- Garlic: Freshly minced garlic is a must! It gives that rich, aromatic flavor that makes this dish sing.
- Ginger: Grated ginger lends a warm spice. It really brightens up the overall flavor.
- Red Chili Flakes: Add these if you like a kick! Omit them for a milder dish.
- Cornstarch: This is used to coat the chicken for that delightful crispy texture when cooked. It works wonders!
- Vegetable Oil: For frying the chicken. You can also use sesame oil for added flavor.
- Noodles: Use rice noodles or egg noodles based on your preference. Just don’t forget to cook them according to the package!
- Green Onions: They are your garnish and add freshness and a burst of color.
- Sesame Seeds: These are optional but sprinkle them on for a bit of nuttiness—totally worth it!
If you’re curious about the exact measurements, don’t worry! You can find them at the bottom of the article. Happy cooking!

How to Make Sticky Garlic Chicken Noodles
Now that you have everything ready, let’s embark on the flavorful journey of making Sticky Garlic Chicken Noodles. I promise it’s easier than it sounds! Just follow these simple steps, and you’ll be savoring every bite in no time.
Step 1: Prepare the Sauce
First, grab a bowl and mix your soy sauce, honey, minced garlic, grated ginger, and red chili flakes. Whisk it all together until it’s well combined. The aroma will whisk you away—sweet with a hint of savoriness!
Step 2: Coat the Chicken
Next, take your chicken pieces and toss them with cornstarch. This step is key for that amazing crispy coating! Make sure every piece is evenly coated, as it helps to lock in the delicious flavors when you cook it.
Step 3: Cook the Chicken
Heat up vegetable oil in a large skillet or wok over medium-high heat. Trust me; you want it hot! Add in the chicken pieces in a single layer, cooking until golden brown and cooked through. This usually takes about 6 to 8 minutes. Don’t forget to stir occasionally, so nothing sticks or burns!
Step 4: Add the Sauce
Once your chicken looks perfect, pour that beautiful sauce right over it. Stir to coat everything evenly. Let the mixture simmer for about 2 to 3 minutes until the sauce thickens slightly. This is when the magic happens, and your kitchen will smell incredible!
Step 5: Cook the Noodles
While your chicken is simmering, you can tackle those noodles. Cook them according to package instructions, then drain and set them aside. A little tip: toss them with a splash of oil after draining to keep them from sticking together.
Step 6: Combine and Garnish
Finally, add those cooked noodles to your skillet with the chicken and sticky sauce. Toss everything together until well combined. Serve immediately, garnished with chopped green onions and a sprinkle of sesame seeds if you like. Voilà! Your Sticky Garlic Chicken Noodles are ready to shine on the dinner table!
Tips for Success
- Prep all your ingredients before you start cooking. It makes the process smoother!
- For extra flavor, marinate the chicken in the sauce for 30 minutes if you have the time.
- Use a mix of vegetables for added color and nutrition; bell peppers and broccoli work wonderfully.
- Taste as you go! Adjust sweetness or heat to suit your family’s preferences.
- Store leftovers in an airtight container in the fridge for up to three days.
Equipment Needed
- Large Skillet or Wok: Essential for cooking your chicken. A heavy-bottomed pan works too!
- Bowl: For mixing the sauce—a mixing jug can also do the trick.
- Spatula: To stir and flip the chicken; a wooden spoon is a good alternative.
- Colander: To drain your noodles effectively.
Variations of Sticky Garlic Chicken Noodles
- Vegetable Delight: Add bell peppers, snap peas, or broccoli for a colorful and nutritious twist.
- Protein Swap: Substitute chicken with tofu, shrimp, or even beef to cater to different tastes.
- Spicy Version: Increase the red chili flakes or add a splash of sriracha for those who like some heat.
- Gluten-Free Option: Use tamari instead of soy sauce and select gluten-free noodles to enjoy this dish without worry.
- Herb Infusion: Toss in some fresh cilantro or basil at the end for an aromatic boost.
Serving Suggestions
- Pair with Steamed Veggies: Serve alongside steamed green beans or broccoli for a vibrant plate.
- Refreshing Side Salad: A light cucumber salad complements the richness of the noodles perfectly.
- Drinks: Enjoy with a chilled glass of iced tea or a light white wine.
- Presentation: Arrange the noodles in a large serving bowl, garnished with extra green onions and sesame seeds.
FAQs about Sticky Garlic Chicken Noodles
You’ve got questions, and I’m here to help! Here are some frequently asked questions I often hear about these delightful Sticky Garlic Chicken Noodles.
Can I use a different type of noodle?
Absolutely! You can use rice noodles, egg noodles, or any noodle you prefer. Just remember to follow the cooking instructions on the package for the best results.
How can I make this recipe vegetarian?
For a vegetarian version, simply replace the chicken with tofu or tempeh. You can also add more colorful veggies to keep it hearty and delicious!
Can I make this dish ahead of time?
Yes! You can prep the sauce and chicken ahead of time, then store them in the fridge. Just cook your noodles fresh when you’re ready to eat for the best texture.
What’s the best way to store leftovers?
Keep leftovers in an airtight container in the fridge. They’ll stay fresh for up to three days. Just reheat in the microwave or on the stovetop before serving.
How can I adjust the sweetness or spiciness?
Feel free to tweak the amount of honey or soy sauce to adjust sweetness. For spice, add more red chili flakes or a splash of hot sauce—taste testing along the way is key!
Final Thoughts on Sticky Garlic Chicken Noodles
Cooking up a plate of Sticky Garlic Chicken Noodles isn’t just about the meal; it’s about creating memories. The joy of savoring that sweet and savory goodness with family brings warmth that fills the heart. As you gather around the table, you can bask in the smiles and satisfied sighs from your loved ones. This dish embodies comfort without consuming your precious time. It’s a reminder that even in the hustle and bustle of life, a flavorful, uplifting moment can be just a recipe away. So, roll up your sleeves and savor every delicious bite!
PrintSticky Garlic Chicken Noodles: A Flavorful Delight!

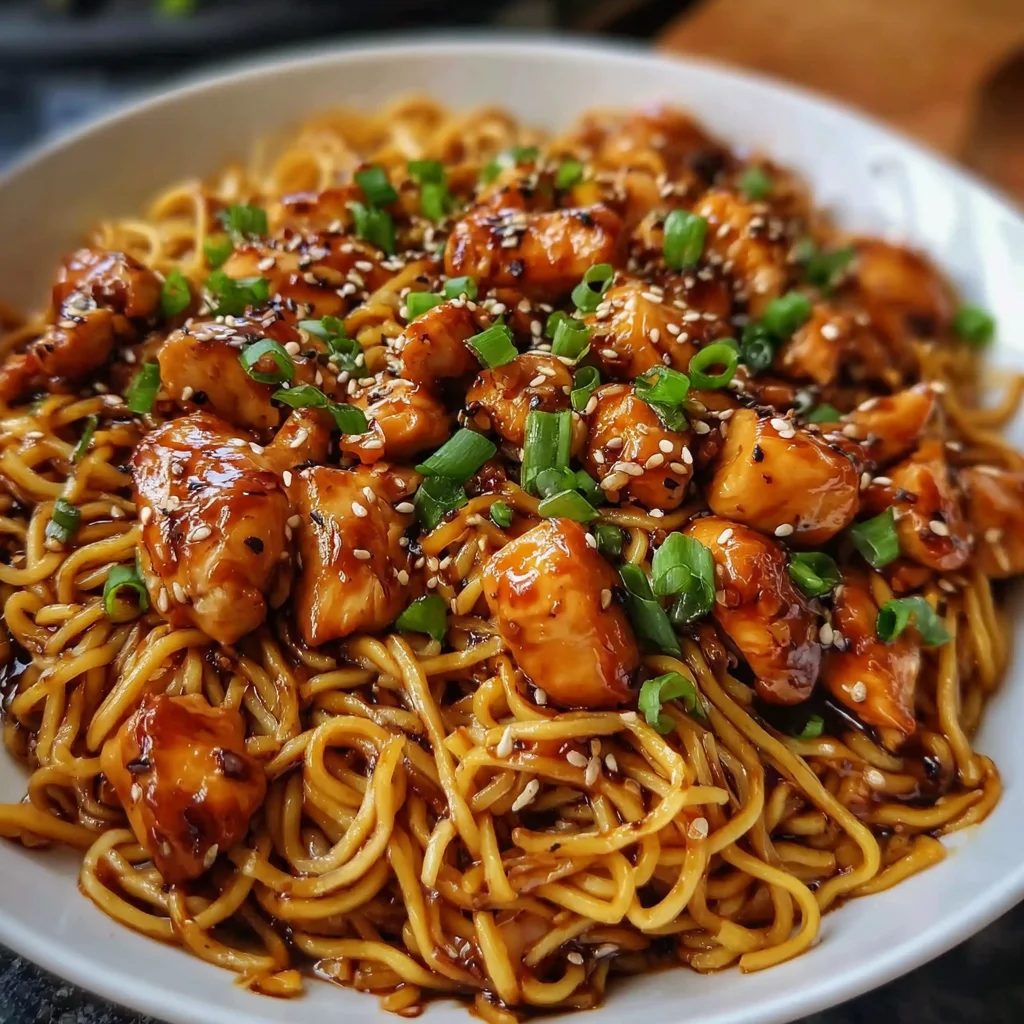
Sticky Garlic Chicken Noodles is a flavorful dish that combines tender chicken pieces with a sweet and savory sticky garlic sauce over noodles, garnished with fresh green onions and sesame seeds.
- Prep Time: 15 minutes
- Cook Time: 15 minutes
- Total Time: 30 minutes
- Yield: 4 servings 1x
- Category: Main Dish
- Method: Stovetop
- Cuisine: Asian
- Diet: Gluten Free
Ingredients
- 1 lb chicken breast or thighs, cut into bite-sized pieces
- 1/4 cup soy sauce
- 3 tbsp honey
- 4 garlic cloves, minced
- 1 tsp grated ginger
- 1/2 tsp red chili flakes (optional)
- 2 tbsp cornstarch
- 2 tbsp vegetable oil
- 8 oz noodles (rice noodles or egg noodles)
- 2 green onions, chopped
- 1 tsp sesame seeds (optional)
Instructions
- In a bowl, mix soy sauce, honey, garlic, ginger, and chili flakes to make the sauce.
- Toss the chicken pieces with cornstarch until evenly coated.
- Heat vegetable oil in a large skillet or wok over medium-high heat.
- Add chicken and cook until golden and cooked through, about 6–8 minutes.
- Pour the sauce over the chicken and stir to coat. Let it simmer until thickened, about 2–3 minutes.
- Cook noodles according to package instructions. Drain and set aside.
- Add cooked noodles to the skillet and toss to combine with the sauce and chicken.
- Garnish with chopped green onions and sesame seeds before serving.
Notes
- Use tamari and gluten-free noodles for a gluten-free version.
- Add vegetables like bell peppers, broccoli, or snap peas for more nutrition.
- Tofu, shrimp, or beef can be used instead of chicken.
- Toss noodles with oil after draining to prevent sticking.
- Increase cornstarch or simmer longer for a thicker sauce.
Nutrition
- Serving Size: 1 serving
- Calories: 450
- Sugar: 10g
- Sodium: 800mg
- Fat: 10g
- Saturated Fat: 1.5g
- Unsaturated Fat: 8.5g
- Trans Fat: 0g
- Carbohydrates: 60g
- Fiber: 2g
- Protein: 30g
- Cholesterol: 90mg