
Introduction to Chocolate Craving Cake
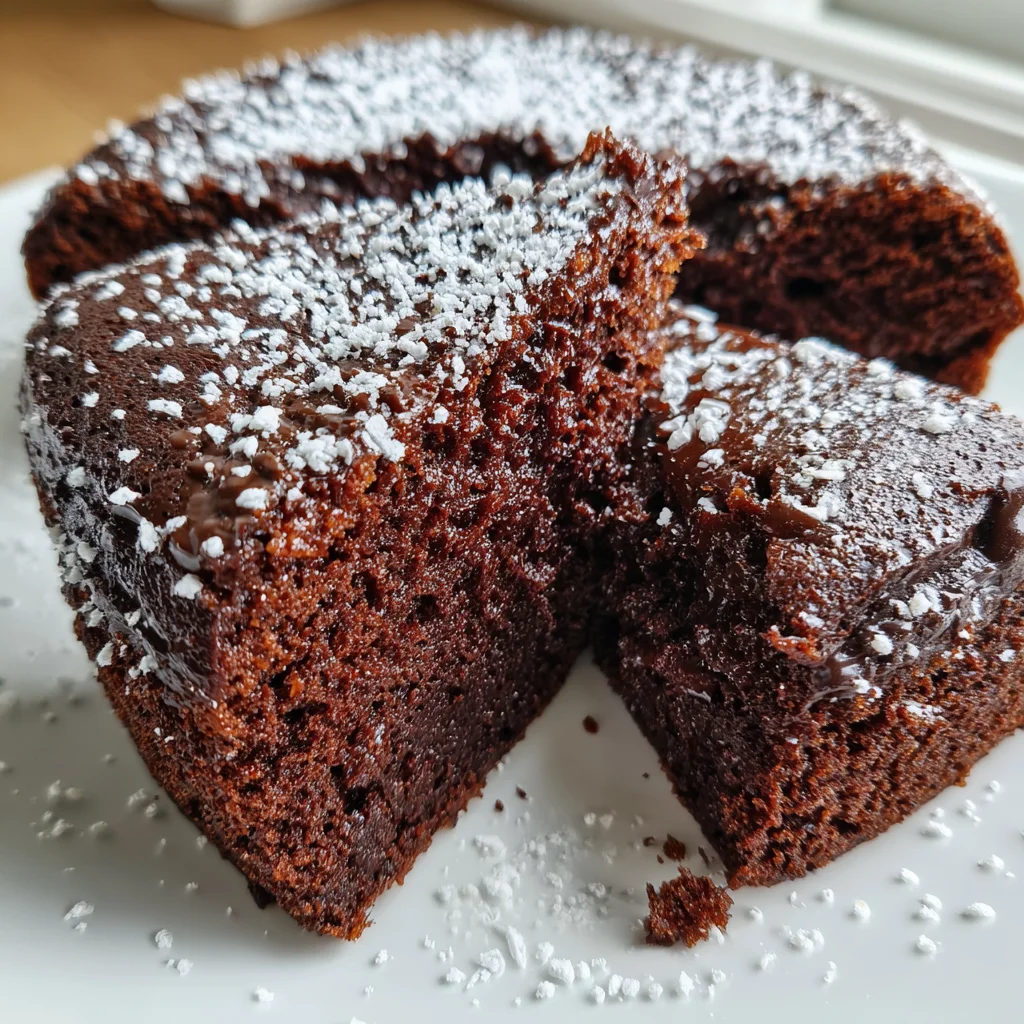
Hey there, fellow chocolate lovers! I don’t know about you, but there are days when nothing hits the spot quite like a slice of delectable cake. My go-to for those moments is the incredible Chocolate Craving Cake. It’s rich and moist, topped with a creamy chocolate frosting that feels like a warm hug. Perfect for any busy mom or professional, this cake serves as a quick solution for a sweet craving or an ideal dessert to impress loved ones. Let’s dive into this delightful recipe that promises to be a hit at any gathering!
Why You’ll Love This Chocolate Craving Cake
This Chocolate Craving Cake is a dream come true for busy days! It’s incredibly easy to whip up, taking just 15 minutes to prep. The cake emerges from the oven rich, moist, and oh-so-chocolatey, making it perfect for satisfying those sweet cravings. Plus, the simple frosting adds a creamy touch that elevates every slice. Let’s face it—who wouldn’t love a dessert that’s both delicious and quick to make?

Ingredients for Chocolate Craving Cake
Here’s where the magic begins! This Chocolate Craving Cake is made with simple, yet essential ingredients that guarantee a rich flavor and moist texture. Let’s break it down:
- All-purpose flour: The foundation of our cake, providing the structure that creates a tender crumb.
- Granulated sugar: For sweetness and moisture, helping to balance out the rich cocoa flavor.
- Unsweetened cocoa powder: This is what gives our cake that deep, chocolatey punch. Go for high-quality cocoa for extra richness!
- Baking powder & baking soda: These are our leavening agents, ensuring the cake rises beautifully.
- Kosher salt: Enhances the flavors and balances the sweetness in the cake.
- Large egg: Acts as a binder, helping to hold everything together while adding moisture.
- Whole milk: Adds richness and keeps the cake moist. You could substitute with almond milk for a dairy-free option.
- Vegetable oil: Creates a tender cake—feel free to swap this with melted coconut oil for a subtle flavor twist.
- Vanilla extract: A splash brings warmth and depth to every chocolate bite—it’s a game changer!
- Warm water or brewed coffee: This helps the dry ingredients blend beautifully and enhances the chocolate flavor. Choose coffee if you’re feeling adventurous!
- Milk chocolate chips: These add little pockets of gooey goodness throughout the cake. Dark chocolate chips work too if you like it deeper!
- Sour cream: Incorporating this adds tanginess and moisture, making each slice incredibly delightful.
For exact quantities, check the bottom of the article where you can also find a handy printable version. Trust me, you won’t want to skip any of these ingredients—they’re what make this cake such a decadent treat!
How to Make Chocolate Craving Cake
Now comes the fun part! Making this Chocolate Craving Cake is as simple as pie—or should I say cake? Follow these straightforward steps to create a dessert that will make your taste buds dance.
Step 1: Prepare the Oven and Baking Dish
Start by preheating your oven. Set it to 350°F (175°C) if you’re using a glass or ceramic dish. If you’re working with metal, lower it to 325°F (163°C) to avoid a scorched bottom.
Next, grab an 8×8-inch baking dish. Line it with parchment paper, leaving some overhanging on the sides. This little trick makes removing the cake a breeze. Lightly grease the bottom and sides—your future self will thank you!
Step 2: Mix the Dry Ingredients
In a large mixing bowl, whisk together the all-purpose flour, granulated sugar, unsweetened cocoa powder, baking powder, baking soda, and kosher salt. This dry mix is where the magic begins.
Make sure everything is well-combined. You want an even distribution of the cocoa. It helps create a consistent flavor throughout the cake!
Step 3: Combine Wet Ingredients
In another bowl, crack in that large egg and pour in the whole milk, vegetable oil, and a splash of vanilla extract. I find that using room temperature ingredients helps everything blend together better—no lumps allowed.
Mix on low speed until combined. Then, increase to medium and let it mix for about 2 minutes. You want a smooth and creamy texture.
Step 4: Add Water or Coffee
Now, it’s time to enrich the batter by adding the warm water or brewed coffee. This is where the real chocolate flavor shines through! Stir until all those yummy ingredients are fully incorporated.
Your batter will look a bit thin, but don’t panic—that’s exactly how it should be. Thin means it’s going to be moist and delicious.
Step 5: Bake the Cake
Carefully pour the batter into your prepared baking dish. Make sure it’s distributed evenly. Pop it into your preheated oven and bake for about 35-40 minutes.
Check for doneness by inserting a toothpick into the center. It should come out with a few crumbs but no wet batter. If you see wet batter, give it a few more minutes.
Step 6: Cool the Cake
After baking, let the cake cool in the pan for about 10 minutes. This helps it set a bit more before you transfer it to a wire rack. Grab the edges of the parchment paper and lift it out carefully.
Giving it some time to cool completely will make frosting a whole lot easier!
Step 7: Prepare the Frosting
While the cake cools, let’s whip up that creamy frosting! In a microwave-safe bowl, toss in your milk chocolate chips. Heat them gently at 50% power, stirring every 30 seconds until completely melted.
Add in the sour cream and a splash of vanilla extract. Stir until you achieve a smooth and fluffy frosting. Taste it, because, honestly, who could resist?
Step 8: Frost the Cake
Finally, once your cake is cool, it’s time for the frosting party! Spread the luscious frosting evenly over the top of the cake with a spatula. Don’t be shy—get generous here!
And just like that, your Chocolate Craving Cake is ready. Prepare to indulge yourself and share it… if you can resist that is!
Tips for Success
- Make sure all ingredients are at room temperature for a smoother batter.
- Don’t overmix when combining wet and dry ingredients to keep your cake light and fluffy.
- Use high-quality cocoa powder and chocolate chips for the richest flavor.
- For extra moistness, consider adding a tablespoon of mayonnaise to the batter.
- Keep an eye on the oven; every oven is a little different!
Equipment Needed
- Baking dish: An 8×8-inch glass or metal pan. You can use a round cake pan for a different shape.
- Mixing bowls: 2 bowls—one for dry and one for wet ingredients. Any large bowl will do!
- Whisk: A handheld whisk or electric mixer makes mixing a breeze.
- Parchment paper: This ensures an easy cake release. If you don’t have it, just grease the pan well.
- Spatula: For frosting and transferring your cake. A traditional or offset spatula works great.
Variations for Chocolate Craving Cake
- Gluten-free: Swap all-purpose flour for a gluten-free flour blend to keep everyone happy without sacrificing flavor!
- Healthier twist: Use applesauce instead of vegetable oil for a lower fat version that still delivers moisture and flavor.
- Vegan option: Replace the egg with a flaxseed meal or chia seed mixture, and use plant-based milk and oil.
- Different frosting: Try cream cheese frosting for a tangy contrast or a chocolate ganache for an extravagant twist.
- Add-ins: Mix in a handful of nuts, chocolate chunks, or dried fruit for extra texture and flavor.
Serving Suggestions
- Ice Cream: Serve each slice with a scoop of vanilla ice cream for a delightful contrast.
- Coffee Pairing: Brew a fresh pot of coffee or espresso to elevate your chocolate experience.
- Fresh Berries: Garnish with strawberries or raspberries for a fruity touch and a splash of color.
- Presentation: Dust with powdered sugar or cocoa powder before serving for an elegant finish.
- Whipped Cream: A dollop on top adds luscious creaminess that complements the cake beautifully.
FAQs about Chocolate Craving Cake
Can I use dark chocolate chips instead of milk chocolate?
Absolutely! Dark chocolate chips will give your Chocolate Craving Cake a richer flavor. If you’re a fan of the deeper cocoa taste, this swap will take your cake to another level!
How can I store leftovers?
Store any leftover cake in an airtight container at room temperature for up to three days. If you want to keep it fresh longer, feel free to refrigerate it. Just let it come back to room temperature before enjoying again!
Can I freeze the cake?
Yes! Wrap the cooled cake tightly in plastic wrap and then foil. It can be frozen for up to three months. When you’re ready to indulge, simply let it thaw in the fridge overnight.
What can I substitute for sour cream?
If you’re out of sour cream, you can use plain yogurt or even buttermilk as alternatives. Both will keep your cake moist while adding a slight tang.
Can I make this cake ahead of time?
Definitely! You can bake the cake a day in advance. Just be sure to frost it right before serving for that fresh-out-of-the-oven taste. This is a great strategy for busy days or special celebrations!
Final Thoughts
Making this Chocolate Craving Cake is not just about satisfying your sweet tooth; it’s about creating joyful moments. The smell that fills your kitchen while it bakes brings back memories, turning any ordinary day into something special. This cake is perfect for a quick dessert or a delightful treat to share with friends and family. The process is simple, and the results are simply heavenly. As you take that first bite, I hope it brings you the same joy it brings me—a moment of pure indulgence worth savoring, bite by delicious bite.
PrintChocolate Craving Cake
Indulge in this rich and moist Chocolate Craving Cake topped with a creamy chocolate frosting, perfect for any chocolate lover!
- Prep Time: 15 minutes
- Cook Time: 40 minutes
- Total Time: 55 minutes
- Yield: 9 servings 1x
- Category: Dessert
- Method: Baking
- Cuisine: American
- Diet: Vegetarian
Ingredients
- 1 cup (125 g) all-purpose flour
- 1 cup (200 g) granulated sugar
- ½ cup (63 g) unsweetened cocoa powder
- ¾ teaspoon baking powder
- ¾ teaspoon baking soda
- ½ teaspoon kosher salt
- 1 large egg
- ½ cup (100 g) whole milk
- ¼ cup (55 g) vegetable oil
- 2 teaspoon vanilla extract
- ½ cup (118 g) warm water, or warm brewed coffee
- 1 cup (168 g) milk chocolate chips
- ½ cup sour cream
- ½ teaspoon vanilla extract
Instructions
- Preheat the oven to 350°F (175°C) if using a glass or ceramic baking dish. For a metal pan, set the oven to 325°F (163°C). Line an 8×8-inch baking dish with parchment paper and lightly grease the sides and bottom.
- In a large bowl, whisk together the flour, sugar, cocoa powder, baking powder, baking soda, and salt.
- Add the egg, milk, vegetable oil, and vanilla extract. Mix on low speed until combined, then increase to medium and mix for 2 minutes.
- Stir in the warm water or coffee until fully incorporated. The batter will be thin.
- Pour the batter into the prepared baking dish and bake for 35-40 minutes or until a toothpick inserted in the center comes out with a few crumbs but no wet batter.
- Let the cake cool in the pan for 10 minutes, then transfer to a wire rack to cool completely.
- In a microwave-safe bowl, heat the chocolate chips at 50% power in 30-second intervals, stirring after each, until fully melted.
- Stir in the sour cream and vanilla extract until smooth and fluffy.
- Spread the frosting evenly over the cooled cake.
Notes
- For a richer flavor, use high-quality cocoa powder and chocolate chips.
- This cake pairs beautifully with a scoop of vanilla ice cream.
- Store any leftovers in an airtight container at room temperature for up to 3 days.
Nutrition
- Serving Size: 1 slice
- Calories: 325
- Sugar: 28 g
- Sodium: 150 mg
- Fat: 12 g
- Saturated Fat: 6 g
- Unsaturated Fat: 4 g
- Trans Fat: 0 g
- Carbohydrates: 50 g
- Fiber: 2 g
- Protein: 4 g
- Cholesterol: 25 mg