Introduction to Halloween Candy Apples
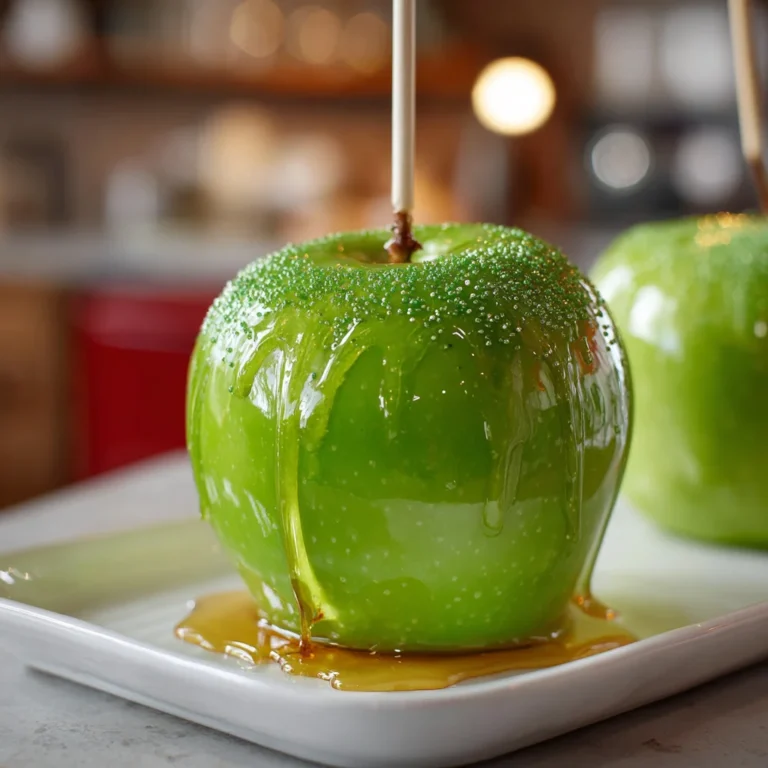
There’s magic in the air on Halloween when it’s crisp out, and leaves are underfoot. It’s the perfect time for indulging in some festive treats–like Halloween Candy Apples. Those vibrant creations are not only delicious but fun to create with your little ones helping in the kitchen. Quick. Fun. Creates smiles all around: as a working mother, I realize the urgent need for quick and fun recipes that create a great mood around the house. Besides, these candy apples will blow everybody’s minds at your Halloween get-together!
Why You’ll Love This Halloween Candy Apples
Halloween Candy Apples marry simplicity with festivity, taking only about an hour to come together from preparation to execution. And that has to be a good thing for Granny Smith’s tart, crunchy flesh dipped in a sticky, sweet glossy candy coating. Plus, decorating with your child, so the perfect way to spend quality time together with family members, making such precious memory over a simple candy apple preparation will worth the while!
Ingredients for Halloween Candy Apples
Creating these Halloween Candy Apples requires just a few simple ingredients. Each one plays a crucial role in ensuring your apples turn out perfectly sweet and delicious.
- Granny Smith Apples: The tartness of these apples balances the sweetness of the candy coating beautifully. Plus, they stay crispy!
- Caster Sugar: This superfine sugar dissolves quickly in the syrup, resulting in a smooth candy coating. Regular sugar can be used but may take longer to dissolve.
- Water: Essential for the sugar mixture, it helps create the perfect candy syrup consistency.
- Liquid Glucose or Light Corn Syrup: This adds a nice sheen to the candy coating and prevents crystallization, ensuring a smooth finish.
- White Vinegar: A small amount helps to stabilize the sugar syrup and enhances its texture.
- Food coloring: Choose any color that brings Halloween spirit to life! It adds a festive touch that kids love.
Check the bottom of this article for exact measurements and a handy printable version. You’re just steps away from making delightful, shiny candy apples that will captivate everyone’s taste buds!

How to Make Halloween Candy Apples
Prepare the Apples
Wash and Dry Apples
First things first, let’s wash those apples! It’s essential to remove any wax that might be on their skin. Wax can prevent the candy coating from sticking properly, and we wouldn’t want that. I like to scrub them under warm water with a cloth for maximum cleanliness. After rinsing, make sure to dry them thoroughly. Remember, moisture is the enemy here! Take your time; this step will pay off later when you enjoy the perfect crunch.
Create the Candy Coating
Boil the Sugar Mixture
Now, let’s turn our attention to the star of the show—the candy coating! In a large, heavy-based saucepan, combine the caster sugar, water, liquid glucose, and white vinegar. Place it over low heat and stir constantly until the sugar dissolves. Patience is key here. Once the sugar is dissolved, turn up the heat and bring the mixture to a rolling boil. Use a candy thermometer if you have one, and aim for the hard crack stage around 302°F. It can get really hot, so be cautious and avoid getting too close!
Coat the Apples
Dip in Candy
When your syrup reaches the desired temperature, remove it from heat and carefully add your chosen food coloring. Stir gently until it’s blended in. Now, it’s time for the fun part! Hold an apple by the stick, and dip it into the syrup at an angle. Really swirl the apple around so it gets that glorious candy coating on all sides. Let any excess drip back into the pan. A quick spin helps it to evenly coat, creating that perfect shiny finish!
Decorate and Set
Add Toppings
While the coating is still wet, it’s time to add your decorations! Have your sprinkles ready in bowls, and dip the apple into them, ensuring it’s fully covered. If you’re feeling adventurous, you can add other decorative elements. Once decorated, place the apples, apple end down, on the prepared baking tray. Let them sit for about 20 minutes to harden completely. Don’t rush this step; patience ensures that your candy apples turn out just right!
Tips for Success
- Always use a heavy-based saucepan to prevent burning the sugar.
- If the syrup crystallizes, use a pastry brush dipped in water to brush down the sides.
- Work quickly when decorating the apples; the candy coating sets fast.
- Try different food colorings for a unique and festive look.
- Encourage your kids to join in—it’s a fun project everyone will remember!
Equipment Needed
- Heavy-Based Saucepan: A sturdy pot is key. You can use a non-stick saucepan if that’s what you have.
- Candy Thermometer: This tool ensures your syrup reaches the right temperature. If you don’t have one, use a regular kitchen thermometer or test the syrup in cold water.
- Baking Sheet: Line it with baking paper to prevent sticking. Any flat tray will work too.
- Popsicle Sticks or Skewers: Perfect for dipping and holding the apples. Twigs also can be used if cleaned properly.
Variations of Halloween Candy Apples
- Chocolate Dipped: For a richer flavor, dip your candy apples in melted chocolate after coating them in candy. You can even drizzle some chocolate on top for an extra indulgent touch!
- Nutty Crunch: Add chopped nuts like peanuts or almonds to your sprinkles for a delightful crunch. This provides a lovely contrast to the soft apple and sweet candy coating.
- Caramel Layer: Before dipping in candy coating, smother the apples with warm caramel. This adds a luscious layer underneath the candy that’s simply irresistible.
- Vegan Option: Substitute the liquid glucose with agave nectar and use vegan-friendly sugar to create a plant-based version that everyone can enjoy.
- Colorful Themes: For a spooky twist, use dark color food dye to create black candy coating or spooky-themed colors like green and purple for a Halloween party!
Serving Suggestions for Halloween Candy Apples
- Festive Platter: Arrange candy apples on a decorative platter with Halloween-themed napkins for a charming presentation.
- Accompany with Popcorn: Serve with caramel or cheese popcorn for a delightful contrast of flavors and textures.
- Perfect with Hot Cider: Pair with warm apple cider or pumpkin spice lattes for a cozy fall treat.
- Ghoulish Drinks: Mix spooky punch or colorful mocktails to complement the festive treat.
FAQs about Halloween Candy Apples
As you can imagine, creating these Halloween Candy Apples can spark quite a few questions. Here are some common queries that might pop up while you’re in the kitchen.
Can I use other types of apples for this recipe?
While Granny Smith apples are my favorite for their tartness and crunch, you can certainly experiment with other varieties. Just make sure they’re firm enough to hold up to the candy coating!
What can I do if my candy coating is too thick?
If the candy coating seems too thick, simply let it cool slightly to give you a smoother pour. However, if it’s already too thick, you can add a bit of water or even a splash of vinegar to thin it out. Just be careful not to make it too runny!
How long will the candy apples last?
These festive treats are best enjoyed fresh, ideally within two days of making them. After that, they might start to lose their crunch and the candy coating can soften.
Can I make Halloween Candy Apples in advance?
You can, but I recommend preparing them no more than a day before. If you wrap them tightly in cellophane, they can stay fresh longer. Just make sure to store them in a cool, dry place!
What’s the best way to store leftover candy apples?
For any leftovers, wrap them individually in cellophane or airtight containers to keep moisture at bay. This helps maintain their crunch and appearance for a day or two just in case there are any leftovers after your Halloween celebration!
Final Thoughts
Halloween Candy Apples aren’t just a kitchen project – they’re about making sweet memories with loved ones. Your dipping and decorating will have your kitchen buzzing with laughter and excitement. When your children come to take pride in the things they produce, you imbue some magic into whatever indulgence you choose. Not to mention, biting into that crunchy apple coated with the luscious candy semblance of a sort that stays far beyond the last bite. Embrace this festive challenge and let each pop of color be a reminder to you that simple joys can ignite a season’s spirit!
PrintHalloween Candy Apples A Sweet Treat You Must Try!

A fun and festive treat perfect for Halloween celebrations, these candy apples provide a delightful mix of crunchy apples coated in sweet, colorful candy.
- Prep Time: 30 minutes
- Cook Time: 15 minutes
- Total Time: 45 minutes
- Yield: 8 servings 1x
- Category: Dessert
- Method: Stovetop
- Cuisine: American
- Diet: Vegetarian
Ingredients
- 8 large Granny Smith apples
- 3 cups caster sugar (superfine sugar) (600g / 1 ⅓ pounds)
- ⅓ cup water (80ml)
- ¼ cup liquid glucose (or light corn syrup) (60ml)
- 1 teaspoon white vinegar
- Food colouring of your choice
Instructions
- Line a large baking sheet with baking paper and set aside.
- Have your sprinkles in bowls a little larger than the apples to make them easy to dip.
- Give the apples a wash, making sure if they’re waxed to remove all the wax. Remove the stems and dry well. Push in a thick skewer or popsicle stick.
- Add the sugar, water, glucose, and vinegar to a large heavy-based saucepan over very low heat. Stir constantly until the sugar completely dissolves.
- Bring the syrup to a boil and place a candy thermometer on the side of the pan. Boil until the mixture reaches the hard crack stage – 150°C / 302°F.
- Take the pan off the heat and mix the food colouring through, then let the bubbles subside.
- Carefully tip the saucepan at an angle and dip the apples, turning them a few times to coat well all over.
- Let the excess drip off for a few seconds and give it a spin to help.
- Quickly dip the apples at a slight angle into the sprinkles. If using larger decorations, let them set, then use a kitchen blowtorch to heat a small spot on the coating and press on a decoration.
- Place the apples, apple end down, onto the prepared baking tray and let them set. They’ll harden completely in about 20 minutes.
- Once cool, you can individually wrap the apples in cellophane tightly, then secure it around the stick with sticky tape or ribbon. Consume within 2 days.
Notes
- If the apples are waxed, ensure to remove all wax before dipping.
- If using twigs instead of sticks, ensure they are clean.
- Use a pastry brush to brush down any sugar crystals that form on the sides of the pan.
Nutrition
- Serving Size: 1 apple
- Calories: 300
- Sugar: 60g
- Sodium: 15mg
- Fat: 0g
- Saturated Fat: 0g
- Unsaturated Fat: 0g
- Trans Fat: 0g
- Carbohydrates: 75g
- Fiber: 2g
- Protein: 0g
- Cholesterol: 0mg