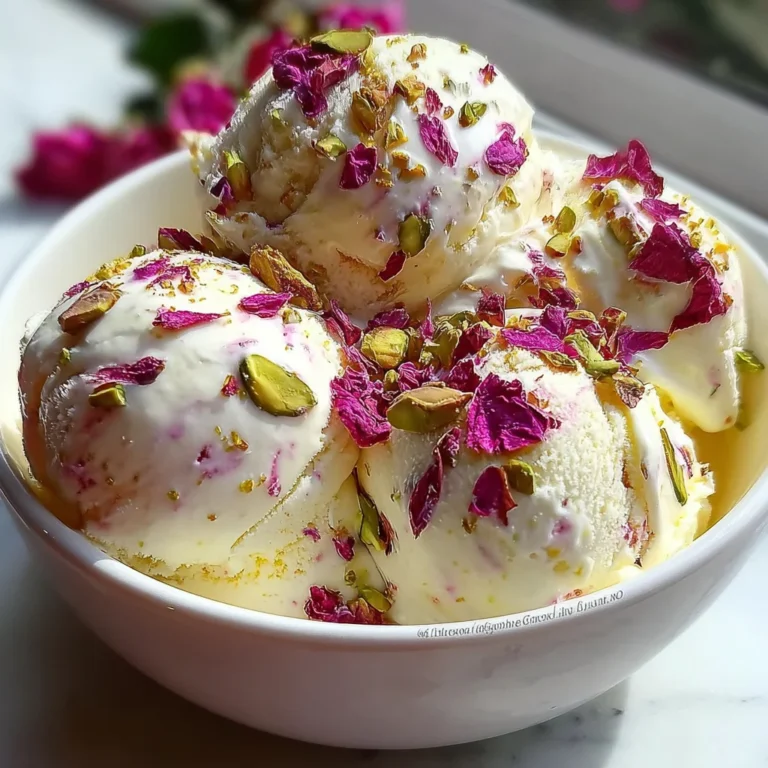
Introduction to Rose Pistachio Cheesecake Ice Cream
As a busy mom, I know how precious time can be, especially when it comes to whipping up something special for loved ones. That’s why I adore this Rose Pistachio Cheesecake Ice Cream! It’s more than just a sweet treat; it’s an experience. The creamy richness of cheesecake, embraced by hints of floral rose water and crunchy pistachios, creates a dessert that’s sure to impress. Picture serving this delightful concoction at a gathering or enjoying a quiet moment after a hectic day. Trust me, once you try this recipe, it’ll become a cherished part of your dessert repertoire.
Why You’ll Love This Rose Pistachio Cheesecake Ice Cream
This Rose Pistachio Cheesecake Ice Cream is not just a treat, but a celebration of flavor. It’s incredibly easy to make, perfect for those hectic afternoons when you crave a sweet escape. With a rich, creamy texture and a unique blend of flavors, it’s not just delicious—it’s an experience. Plus, it’s ready in just a few hours, giving you the time to kick back and enjoy life a little more.

Ingredients for Rose Pistachio Cheesecake Ice Cream
Gathering the right ingredients is half the fun in making Rose Pistachio Cheesecake Ice Cream! Here’s a quick overview of what you’ll need:
- Cream Cheese: This is the base of our ice cream, providing that rich cheesecake flavor and creamy texture.
- Heavy Cream: This adds luscious creaminess, making the ice cream smooth and indulgent. A must-have for any good ice cream!
- Whole Milk: Makes the texture lighter while blending seamlessly with the heavier cream.
- Granulated Sugar: Sweetens the mixture, balancing the flavors and enhancing the creaminess.
- Sweetened Condensed Milk: This ingredient brings a rich, sweet flavor that elevates the dessert to sheer bliss.
- Vanilla Extract: A natural flavor enhancer that ties everything together beautifully.
- Rose Water: This is the star ingredient! It adds a delicate floral note that makes the ice cream feel like a special treat.
- Lemon Zest: Just a hint of citrus brightens up the flavors and complements the rose and pistachio.
- Chopped Pistachios: These nuts bring a delightful crunch and a savory contrast to the sweetness.
- Edible Dried Rose Petals: Perfect for an elegant finish, these petals add beauty and a subtle floral flavor.
For the exact measurements of each ingredient, check out the bottom of the article which has all the details ready for you to print. Get ready to make something magical!
How to Make Rose Pistachio Cheesecake Ice Cream
Step 1: Prepare the Cream Cheese Base
Start by taking your softened cream cheese and placing it in a large mixing bowl. I usually beat it until it’s super smooth, just like a fluffy cloud! This step is crucial because it forms the delicious foundation of our ice cream. Once it’s silky, add in the granulated sugar. Beat them together until fully combined, ensuring no lumps remain. A smooth base makes all the difference!
Step 2: Mix in the Dairy and Sweeteners
Now, let’s make this mixture even more divine! Pour in the heavy cream, whole milk, and sweetened condensed milk. Grab a whisk and mix it all together until it’s smooth. Watching it transform into a creamy dream is simply delightful. This combination adds richness and makes the texture velvety and irresistible—just what we want for our Rose Pistachio Cheesecake Ice Cream!
Step 3: Add Flavor Enhancers
Let’s not forget the magic of flavor! Stir in the vanilla extract, rose water, and lemon zest. Each ingredient plays a role: the vanilla enhances sweetness, the rose water adds that signature floral note, and the lemon zest brightens every bite. I always take a moment to appreciate how wonderful this mixture smells—it’s like a fancy patisserie right in my kitchen!
Step 4: Chill the Mixture
Cover your bowl and let the mixture chill in the refrigerator for at least 2-3 hours. This step is essential for developing both flavor and texture. This chilling time allows the ingredients to blend beautifully and results in rich, creamy ice cream. Trust me; it’s worth the wait!
Step 5: Churn the Mixture
Once chilled, it’s time to churn! Pour your mixture into an ice cream maker and churn according to the manufacturer’s instructions, which usually takes about 20-25 minutes. You’ll know it’s ready when it thickens and has that delightful soft-serve texture. The anticipation builds as that beautiful creamy goodness comes to life!
Step 6: Incorporate Pistachios and Rose Petals
In the last few minutes of churning, fold in the chopped pistachios and edible dried rose petals. Gently mixing them ensures every scoop is packed with crunch and stunning presentation. The combination of flavors and textures will have you feeling like a gourmet chef right at home!
Step 7: Freeze the Ice Cream
Finally, transfer the ice cream into an airtight container and smooth the top. Pop it into the freezer and let it firm up for at least 4-6 hours. This waiting period allows the flavors to meld beautifully, creating that perfect Rose Pistachio Cheesecake Ice Cream you dreamed about. Store leftovers in a frost-free freezer; they’ll keep well for a surprise treat later!
Tips for Success
- Make sure your cream cheese is softened for easier mixing.
- Don’t rush the chilling time; it’s key for creamy texture.
- Adjust the rose water to your taste—start small and add more if desired.
- For a richer flavor, freeze the ice cream longer before serving.
- Consider using a silicone spatula to fold in the pistachios and rose petals gently.
Equipment Needed
- Ice Cream Maker: A countertop version works best, but a hand-crank model is a fun alternative!
- Mixing Bowls: Use a large bowl for mixing; glass or stainless steel are perfect for this task.
- Whisk: A good old whisk will do, but an electric mixer can save more time!
- Airtight Container: Needed for storing your homemade ice cream; glass or plastic will work.
Variations of Rose Pistachio Cheesecake Ice Cream
- Swap the Nuts: If pistachios aren’t your thing, try almonds or hazelnuts for a different crunch.
- Flavored Cream Cheese: Use flavored cream cheese, like strawberry or vanilla, to add a twist of taste.
- Dairy-Free Option: Substitute cream cheese with a dairy-free alternative and use coconut milk for a vegan treat.
- Chocolate Swirl: Add a swirl of melted chocolate in the last few minutes of churning for a decadent twist.
- Fruit Add-ins: Fold in fresh or dried fruits like raspberries or apricots for natural sweetness and texture.
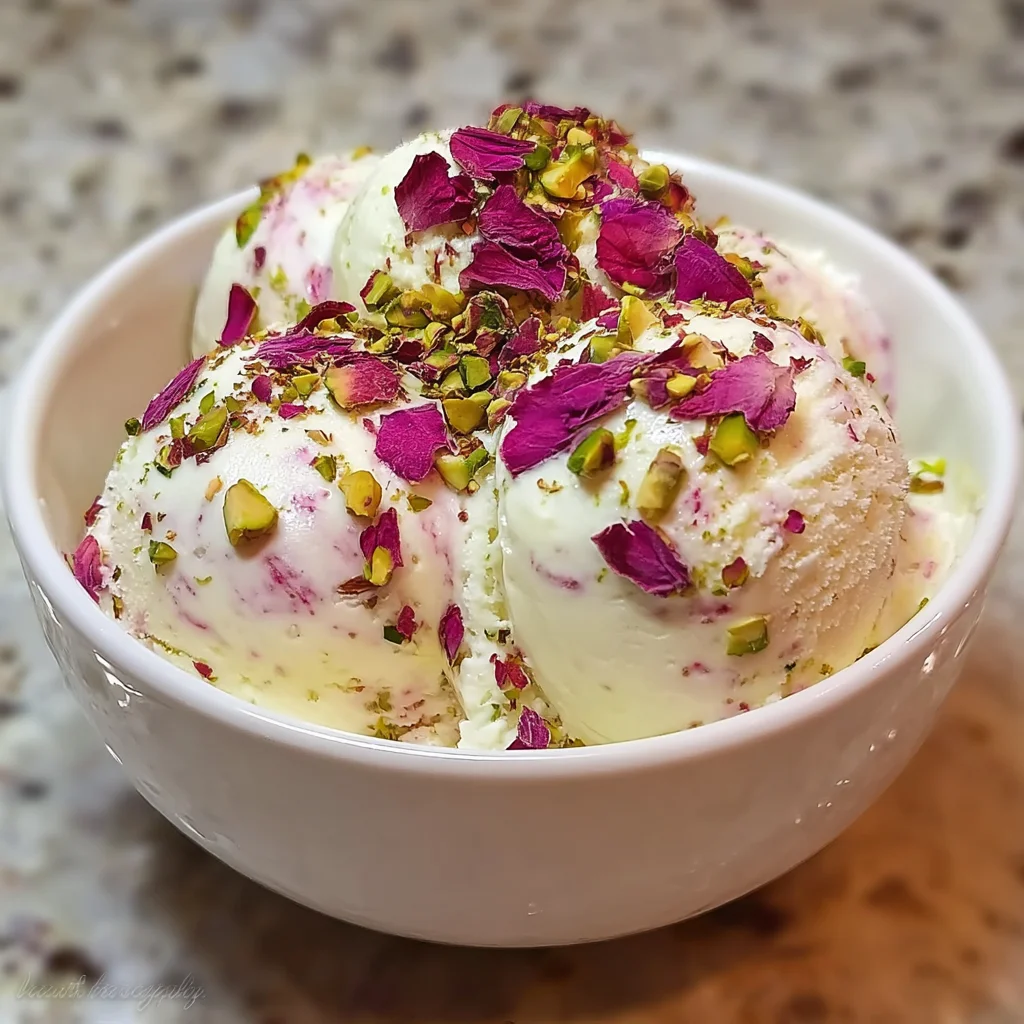
Serving Suggestions
- Serve in elegant bowls for a delightful presentation—add fresh rose petals for a stunning look.
- Pair with a drizzle of honey or a light raspberry sauce for an extra flavor kick.
- Enjoy alongside a cup of aromatic chai or a refreshing mint lemonade.
- Garnish with additional chopped pistachios to enhance texture and visual appeal.
FAQs about Rose Pistachio Cheesecake Ice Cream
Can I make this Rose Pistachio Cheesecake Ice Cream without an ice cream maker?
Absolutely! You can still whip up this ice cream by placing the mixture in a shallow dish and freezing it. Every 30-45 minutes, give it a stir with a fork to break up any ice crystals, repeating this until it’s frozen and creamy. It will take a bit longer, but the end result will still be delicious!
How long can I store this cheesecake ice cream in the freezer?
Your Rose Pistachio Cheesecake Ice Cream can be stored in the freezer for about two weeks. Just make sure it is in a well-sealed airtight container to maintain its creamy texture and avoid freezer burn.
Can I use unsweetened condensed milk instead?
I wouldn’t recommend it, as sweetened condensed milk adds a unique sweetness and richness. If you’re looking to reduce sugar, try using less sugar in the recipe instead, maintaining the sweetened variety for the necessary creaminess.
What other toppings pair well with this ice cream?
Feel free to get creative! Crushed nuts, chopped fresh fruit, or even a sprinkling of chocolate shavings can beautifully complement the flavors of Rose Pistachio Cheesecake Ice Cream. My favorite is a drizzle of rose syrup for that extra floral touch!
Is this ice cream suitable for vegetarians?
Yes, this Rose Pistachio Cheesecake Ice Cream is entirely vegetarian-friendly as it doesn’t contain any meat or seafood products. However, if you’re avoiding animal products entirely, substitute cream cheese and heavy cream with plant-based alternatives for a vegan version!
Final Thoughts
Creating this Rose Pistachio Cheesecake Ice Cream is like inviting a little piece of paradise into your home. The process is simple yet satisfying, making it perfect for busy days when you need a quick gourmet treat. Each scoop transports you to a world of luscious flavors and whimsical textures, where creamy cheesecake meets delicate rosewater and crunchy pistachios. Whether enjoyed at a sunny afternoon gathering or as a sweet escape after dinner, this ice cream brings joy and a touch of elegance to any moment. I promise you’ll want to share this delightful recipe with everyone you know!
PrintRose Pistachio Cheesecake Ice Cream

A delightful and luxurious Rose Pistachio Cheesecake Ice Cream that combines the flavors of creamy cheesecake with fragrant rose water and crunchy pistachios.
- Prep Time: 30 minutes
- Cook Time: 0 minutes
- Total Time: 6 hours 30 minutes
- Yield: 4–6 servings 1x
- Category: Dessert
- Method: Ice Cream Maker
- Cuisine: Middle Eastern
- Diet: Vegetarian
Ingredients
- 8 oz cream cheese, softened
- 1 cup heavy cream
- 1 cup whole milk
- ½ cup granulated sugar
- ½ cup sweetened condensed milk
- 1 teaspoon vanilla extract
- 1 ½ teaspoons rose water (adjust to taste)
- 1 teaspoon lemon zest
- ½ cup chopped pistachios (plus more for garnish)
- 2 tablespoons edible dried rose petals (plus more for garnish)
Instructions
- In a large mixing bowl, beat the cream cheese until smooth.
- Add the granulated sugar and mix until fully combined.
- Pour in the heavy cream, whole milk, and sweetened condensed milk, whisking until smooth.
- Stir in the vanilla extract, rose water, and lemon zest for added flavor.
- Cover and refrigerate the mixture for at least 2-3 hours until well chilled.
- Pour the chilled mixture into an ice cream maker and churn according to the manufacturer’s instructions (about 20-25 minutes).
- In the last few minutes of churning, fold in the chopped pistachios and rose petals to evenly distribute them throughout the ice cream.
- Transfer the ice cream to an airtight container, smooth the top, and freeze for at least 4-6 hours, or until firm.
- When ready to serve, scoop into bowls and garnish with extra pistachios and rose petals for a beautiful presentation.
Notes
- Adjust the amount of rose water to suit your taste preference.
- For a richer flavor, let the ice cream sit in the freezer for longer before serving.
Nutrition
- Serving Size: 1/2 cup
- Calories: 300
- Sugar: 25g
- Sodium: 150mg
- Fat: 20g
- Saturated Fat: 10g
- Unsaturated Fat: 5g
- Trans Fat: 0g
- Carbohydrates: 30g
- Fiber: 1g
- Protein: 4g
- Cholesterol: 50mg